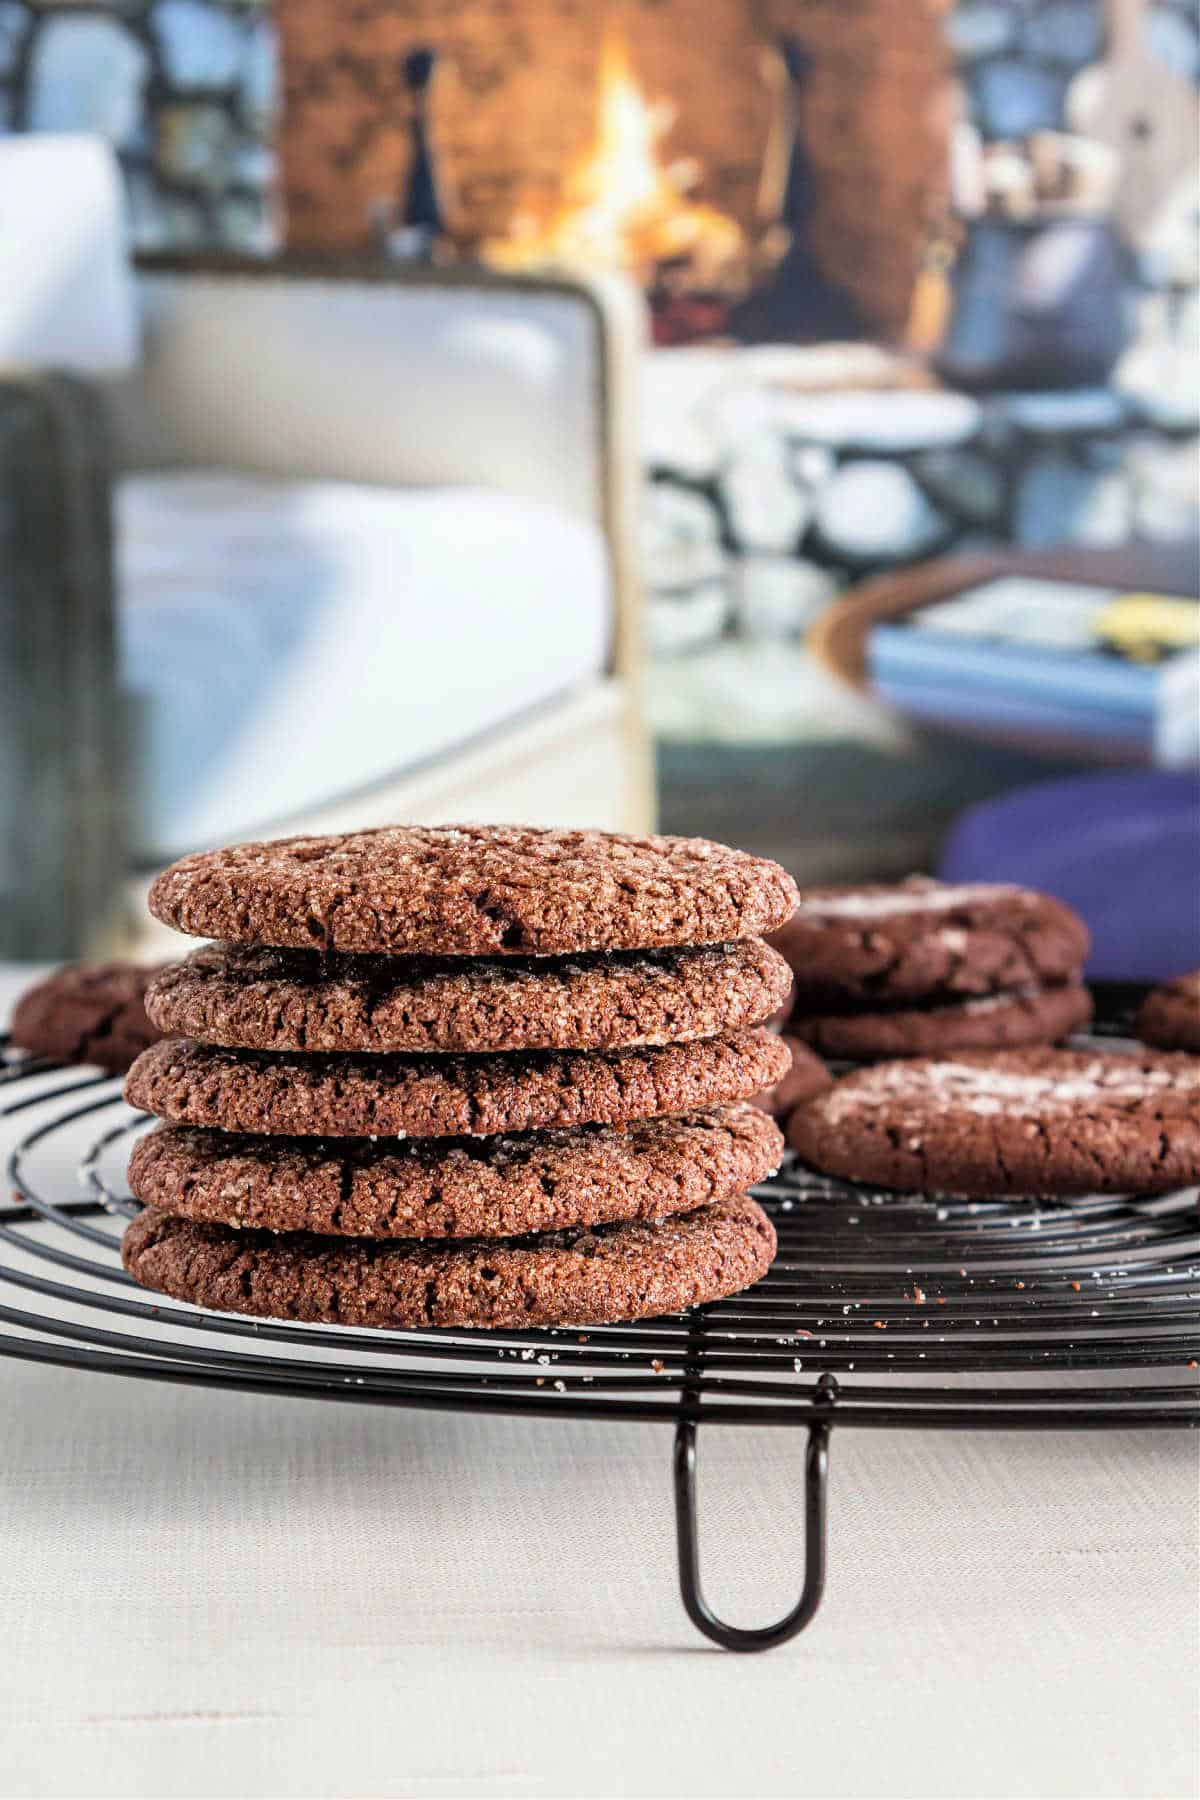
Crispy cookie lovers, your ship has come in! These crisp cocoa cookies are deeply chocolatey and have a light, crisp texture that makes them just a tiny bit addictive.
I’ll show you how to make them, and maybe more importantly, show you how to make any cookie you like into its crispy counterpart.
If you love crisp chocolate cookies, you may also really like my chocolate sable recipe that you can use for tart shells or cookies.
For ease of browsing, you can find all my cookie and bar recipes in one place. Thank you so much for visiting!

Why You Need to Make These Cocoa Cookies
If you love a crispy cookie, these are for you.
Not crunchy, which is something entirely different.
The texture of these cocoa cookies is light and crisp and very snack-ish.
The flavor is deeply chocolatey. I use a relative LOT of instant coffee in them, but all my tasters said they couldn’t taste the coffee.
It’s there to give backbone to the cocoa. The result is deeply chocolatey and the opposite of fudgy. Crisp and light, these are like the potato chips or Ritz crackers of chocolate cookies.
You can eat them one after the other, which is why you’ll thank me that they’re made with only 1 Tablespoon of cookie dough each!
What Makes a Cookie Crispy?
Texture is such a big part of flavor, or the overall experience of eating a food.
Think how disappointing it is to bite into a stale potato chip. But a fresh, thin and crispy potato chip is a real treat.
Here are the ingredients you can manipulate to get a crispy cookie.
- Fat: Liquid fat will spread more than solid fat since it doesn’t have to spend time melting into a liquid in the oven. So starting with melted butter and/or replacing some of the butter with oil or adding a bit of oil in addition to butter will allow for more spread, a thinner cookie, resulting in a crisper bite.
- Liquid: Adding a lot of water-type liquid (which is about 20% of the weight of butter) can activate too much gluten, making a crunchy rather than crisp cookie. Using oil gives more fat-type liquid to make the dough easy to mix without contributing to gluten formation. Result? Crisp cookies. Yay, science!
- Sugar: Brown sugar holds onto moisture and makes a softer cookie. Using mostly or all granulated sugar allows for more spread and a crisper cookie. I also added just a little corn syrup here. When underbaked, corn syrup provides a chewy “bend” to the cookies, but when fully baked, it contributes crispness.
- Eggs: The difference between adding a whole egg or two and just egg white is the difference between a rich, fudgy cookie that might be crunchy (depending on other factors), and a cookie that bakes up light and crisp. The egg white provides the structure needed to bake up crispy (think crisp, light meringue cookies) without the additional fat and emulsifiers in egg yolks.
- pH: Batter/dough with a high pH (above 7, which is neutral) take longer to bake, and if a batter is too basic (pH above 7), it might not even set up at all. So, to give your cookies the best chance of spreading out thin, raise the pH. This is done by adding a relative LOT of baking soda, which has a pH of about 8.5
- Oven temperature: The higher the oven temperature, the faster the outsides and edges of the cookies will set up, and once they do, the cookie won’t spread. Baking at a lower temperature allows the cookies to spread pretty well before the edges set up and no more spread is possible
If you take a look at the recipe for the soft chocolate cookies, you’ll be able to see the substitutions/additions I made to turn a cookie from soft and thick into one that spreads out and bakes up into crispy goodness.
How To Make Them
These crispy little cocoa cookies are super easy to make. I didn’t use my mixer or even a hand mixer, and you won’t have to either
Ingredients and Substitutions
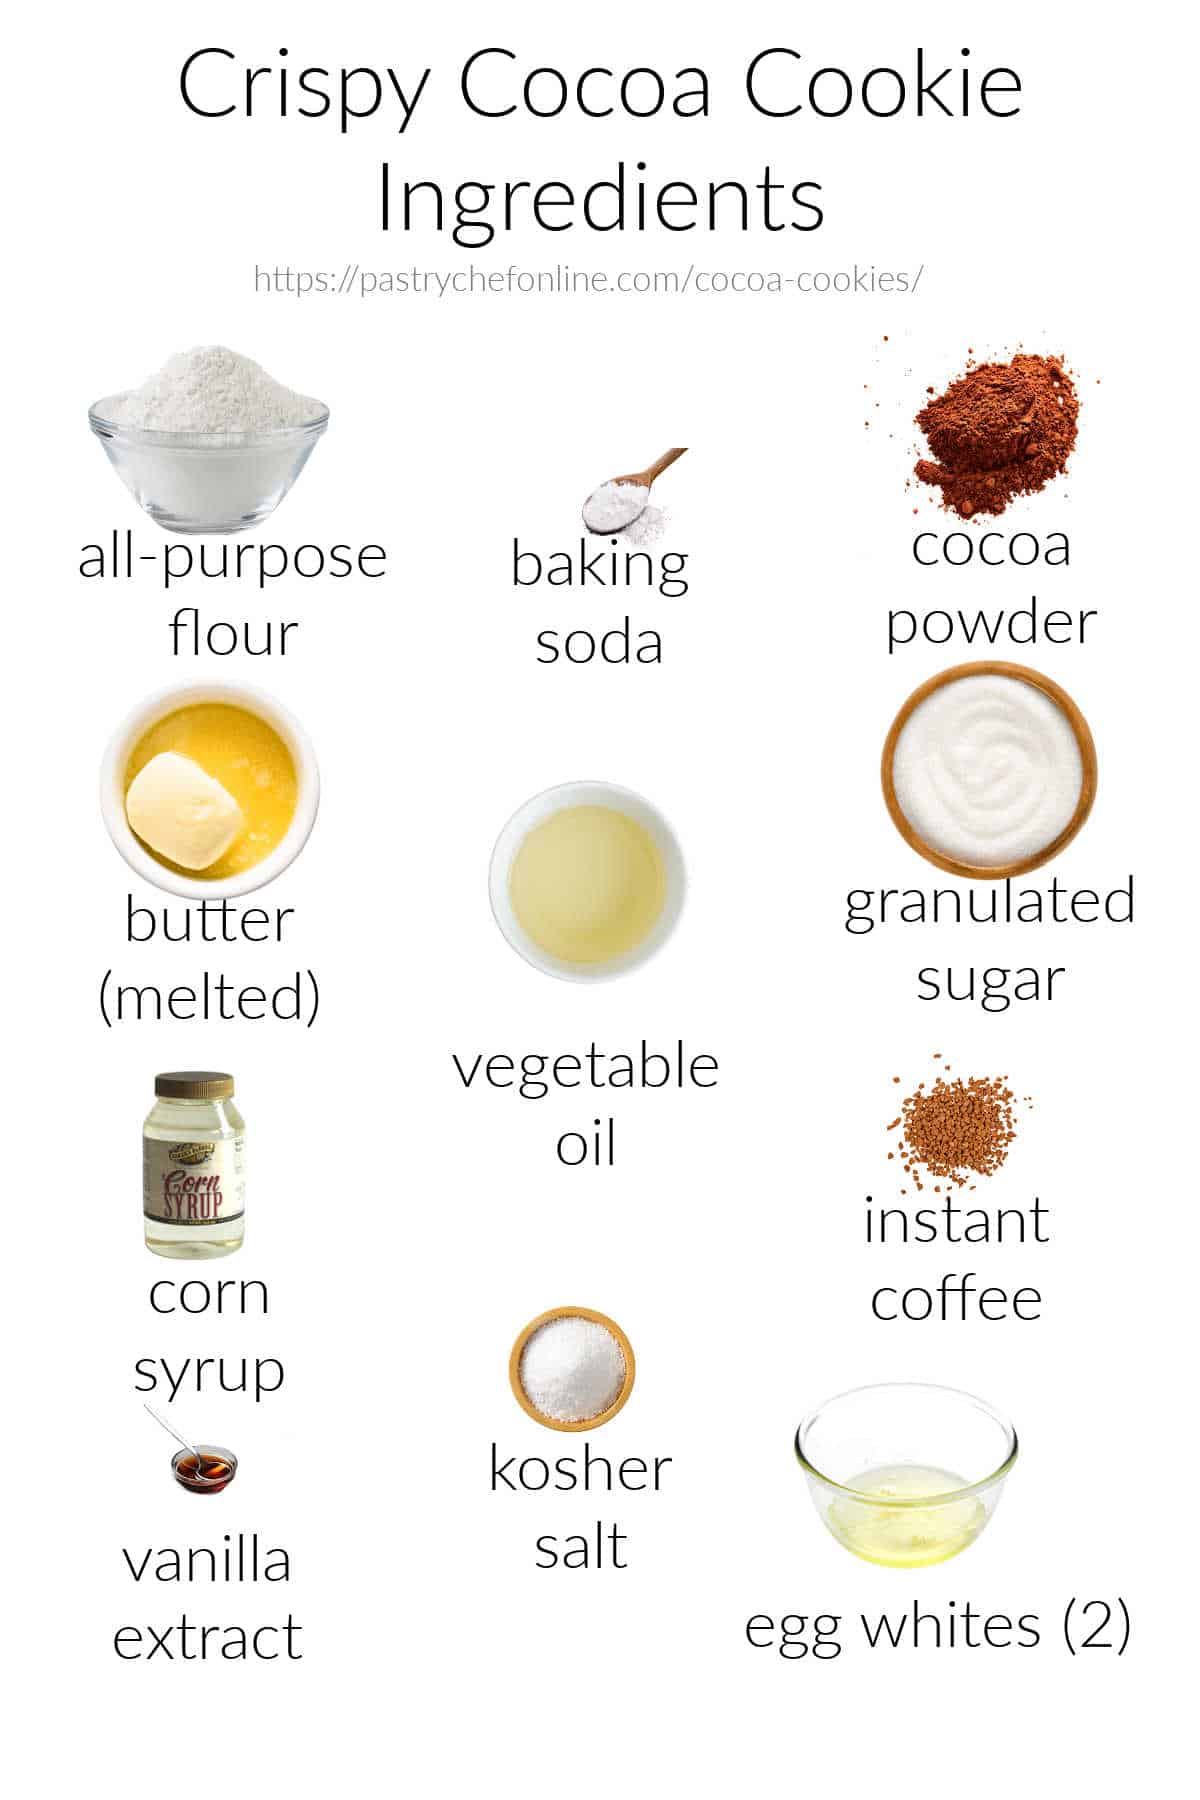
Here is what you’ll need. I’ll mention substitutions where possible.

- flour: all-purpose flour is your best choice here. Flour provides bulk, texture, and structure
- baking soda: assists with crisping and also neutralizing the acidic cocoa powder and instant coffee in the recipe
- butter: melted, unsalted butter
- vegetable oil: assists with spread and a light, crispy texture
- cocoa powder: provides the main flavoring in the cookies as well as some bulk
- instant coffee: provides a flavor backbone to the chocolate, making the flavor deep and complex. You can use instant espresso instead, but add it a little at a time so it doesn’t overwhelm the chocolate flavor
- sugar: granulated sugar provides sweetness, a crispy texture, and even more “spread” so the cookies bake up thin and crisp
- corn syrup: Adds negligible sweetness, but is also there to promote spread and crispiness when baked through. You can substitute maple syrup or honey if you prefer
- kosher salt: A chocolate cookie needs a substantial amount of salt to both bring out the flavor and counteract the bitterness from the acidic cocoa powder and instant coffee
- vanilla extract: Rounds out the flavors. For extreme chocolate cookies, you can substitute chocolate extract or for a nuttier flavor, use about 1/2 teaspoon of almond extract
- egg whites: Provides structure, some liquid, and the protein necessary to help the cookies set up to a delightfully crispy texture
Procedure
As I said, these cookies are very easy to make. Here’s what you’ll do:
- Whisk the flour and baking soda together.
- Partially melt the butter in the microwave and then whisk until it is all melted.
- Add oil, sugar, corn syrup, salt, instant coffee, cocoa powder, and egg whites. Whisk until well combined. NOTE: The instant coffee may not completely dissolve, but that’s okay. I’ve made these cookies several times and eaten a LOT, and I’ve never bitten into a weird extra-coffee-ish one.
- Switch to a spatula, add the flour/baking soda mixture, and carefully stir until uniformly combined. The dough should be dark brown and relatively shiny.
- Allow the dough to sit for about 5 minutes to make it easier to scoop.
To form the cookies for baking, scoop level tablespoons of dough, roll them into balls and drop into a bowl of granulated sugar, making sure to coat them fully.
Place the sugar-coated balls of dough (proto-cocoa cookies) onto a parchment-lined sheet. No need to press them down, because they will spread out nicely while in the oven.
You’ll end up with cookies that are about 2 1/2″-3″ in diameter, which to me is the Perfect Cookie Size.
Equipment You May Need
You’ll need 2 bowls–a medium-sized one and a larger one. This nesting set of 10 glass bowls will give you sizes you need from large to small.
Parchment and half-sheet pans are my go-to cookie “set up.”
Cool the cookies on the pan for 3 minutes, and then you’ll need a spatula to move them to cooling racks to cool completely.
For more information on what I consider to be essential tools, you can read my post about tools for serious bakers.
Variations

To keep the magical crispy texture, I don’t necessarily recommend adding any mix-ins. Mix-ins tend to limit spread, so you will probably end up with a crunchy rather than crisp cookie.
If you do want to add mix-ins, keep them small. Use mini chocolate chips or chopped chocolate or toasted nuts that you chop really fine.
Adding some orange zest is a great variation, especially for you chocolate orange lovers out there.
Using a few drops of peppermint oil or up to a teaspoon of peppermint extract would also give you a thin mint cookie experience (minus the chocolate coating, which you could easily add yourself)
Tips for Success
This cookie dough starts out very soft. If you allow it to sit for a few minutes, it’s much easier to work with, even without refrigerating it.
For crispiest results, scale your cookies out at the 1 Tablespoon size. These do spread quite a bit, and even 1 1/2 Tablespoons can result in a cookie that’s maybe a bit bigger than you’d like. On the other hand, they’re your cookies, so do what you need to do!
Crispy Cocoa Cookies Q & A

You can do a few things: leave out the oil entirely and just use melted butter, swap out oil for additional melted butter, and/or use whole egg as opposed to just the egg whites. I have not tested any of these variations except for leaving out the oil, but science says that any of these changes will result in a crunchy rather than crispy cookie.
Your easiest bet here is to use a cup-for-cup gluten-free flour blend in place of the all-purpose flour I call for. Please check my friend Sandi’s post on the best gluten-free flours, because she will let you know which flours work best for which types of recipes.
Once completely cool, store them in a tight-sealing container at room temperature for up to 5 days. If it’s humid, they may not last as long. To re-crisp, place the cookies on a cookie sheet and bake at 350 for 1-2 minutes. Let cool completely, and they will be nice and crispy again.
Yes. Layer them in a tight-sealing freezer-safe container between pieces of waxed paper. “Burp” the lid to minimize air in the container, and freeze for about a month. Allow them to come to room temperature on the counter for several hours before opening.
Serving Suggestions

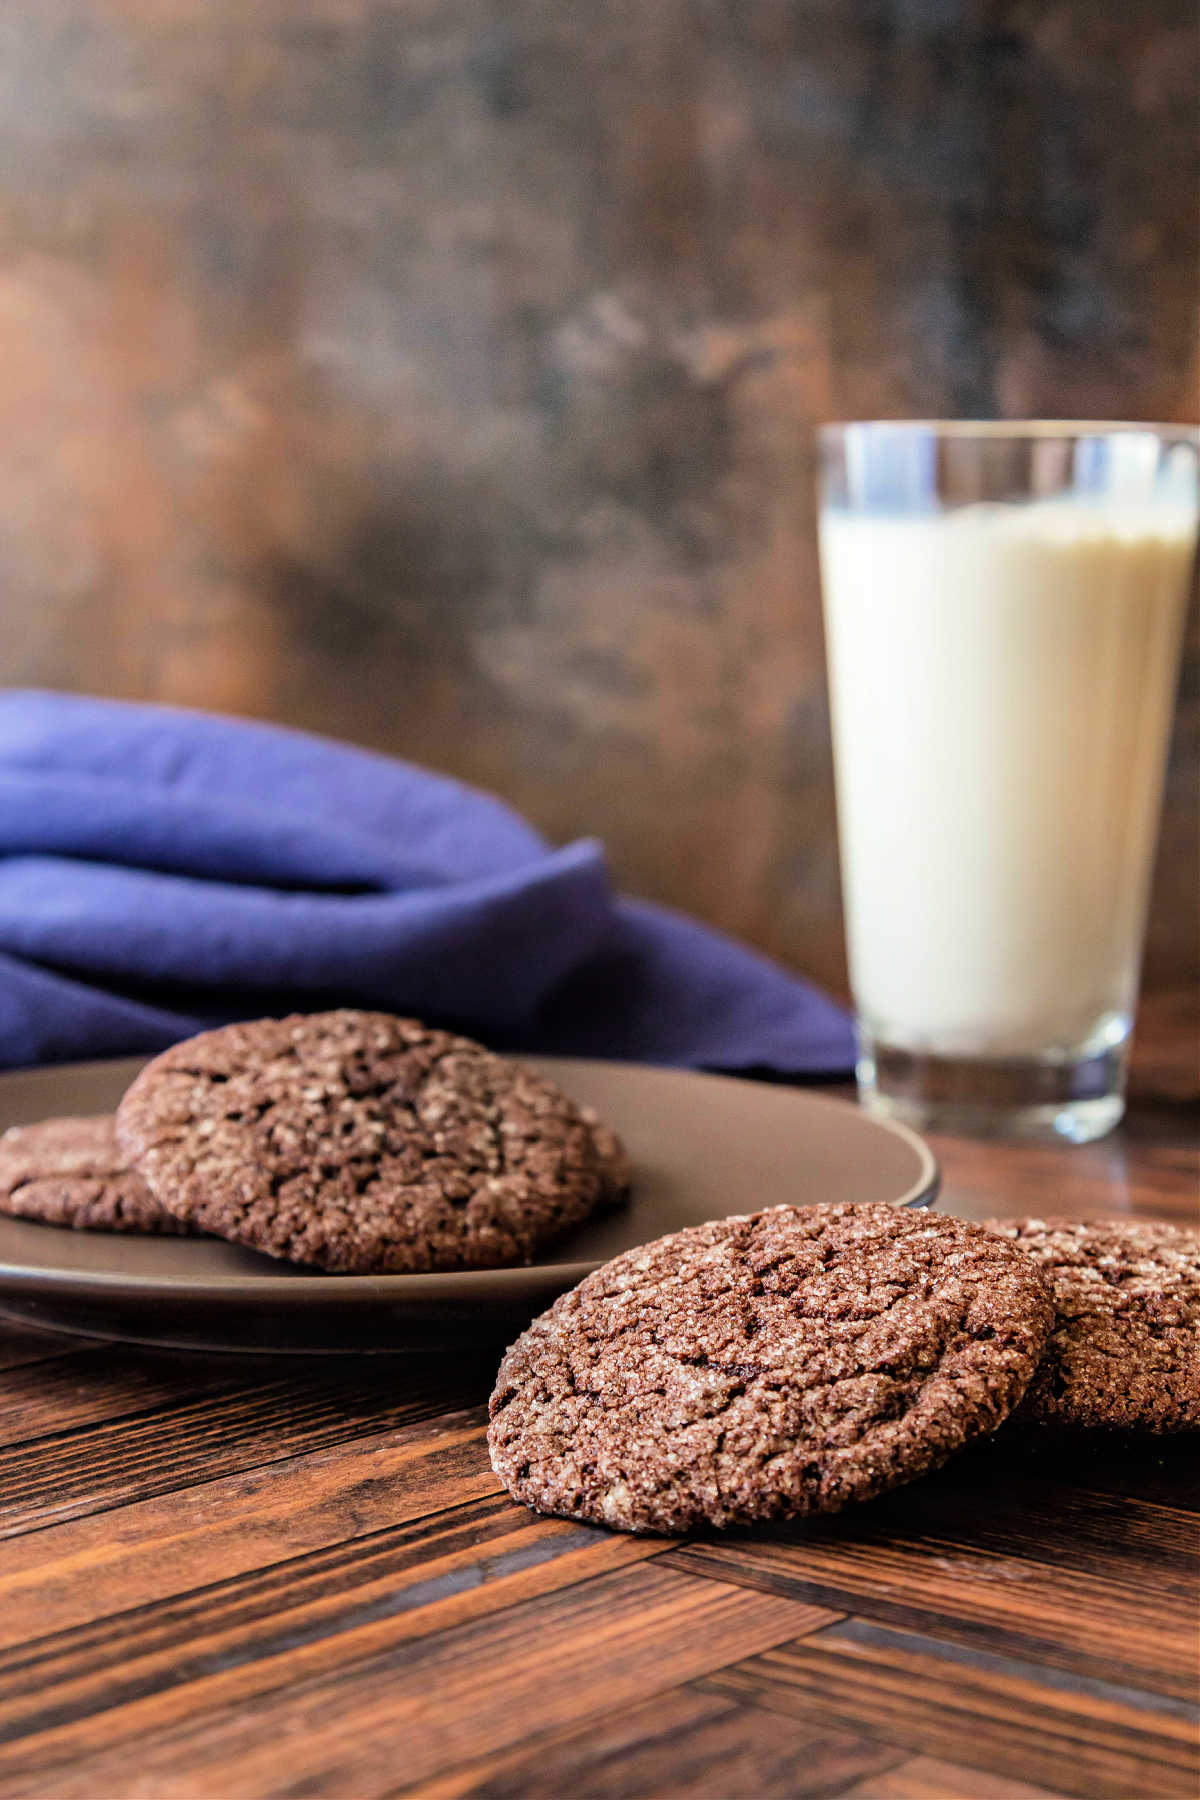
All that is necessary here is a glass of milk or maybe a mug of beaten coffee.
These cocoa cookies will also make an excellent crumb crust. I know they’d be fantastic as the crust for my brother’s favorite pie, chocolate cheesecake pie.
You can also crumble them and mix them into ice cream base for homemade cookies and cream ice. Try a vanilla no-churn ice cream (please add some salt to this base), or consider my no-churn French vanilla ice cream. It has a few more steps, but it’s a great, rich, French-style custard ice cream.
Questions
If you have questions about this post or recipe, don’t hesitate to get in touch. You can leave a comment on the post and I will get back to you within about 24 hours.
If your question is more urgent, please shoot me an email, and I will respond within 4 hours, unless I’m asleep.
A Note About Measurements
NOTE: Most of my recipes are written by weight and not volume, even the liquids.
Even though I try to provide you with volume measurements as well, I encourage you to buy a kitchen scale for ease of measuring, accuracy, and consistency.
This is the scale I use, love, and recommend. If you’re unsure, please read my post about how to use a food scale.
If you make this recipe and/or have enjoyed or learned from reading this post, I’d appreciate it if you could share this!
I have Convenient share buttons that float to the left on desk top and on mobile which invite you to share on Pinterest, Facebook, Twitter or Yummly.
If you make the recipe, please consider rating it a rating and a review. You can do this via the recipe card in the post.

Reviews really help sell the recipe, and negative reviews help me tune into what people really want to have explained better, so any ratings and reviews are helpful!
Also feel free to tag me on Instagram at @onlinepastrychef with #pcorecipe so I can find your creation. Thank you!

Crispy Cocoa Cookies
These crisp and light cocoa cookies are the perfect crispy texture. They bake up nice and thin and are the perfect sweet, chocolatey snack. Leave them as-is, add a little glaze or ganache drizzle, or sandwich them together with some buttercream. These little chocolate guys can do it all!
Ingredients
- 238 grams (8.5 oz or 2 cups, measured by spoong and sweep method) all-purpose flour
- 1 1/2 teaspoons baking soda
- 196 grams (7 oz or 1 3/4 sticks) unsalted butter
- 308 grams (11 oz or about 1 1/2 cups) granulated sugar
- 84 grams (3 oz or 1/3 cup plus 1 Tablespoon) neutral vegetable oil--I used avocado oil
- 17 grams (0.6 oz or 4 Tablespoons) instant coffee (if using espresso powder, start with about half that amount and taste)
- 40 grams (1 oz or 2 Tablespoons) light corn syrup
- 2 teaspoons vanilla
- 1 1/2 teaspoons kosher salt (I use Morton's)
- 2 egg whites
- 84 grams (3 oz or about 1 cup) cocoa powder (not Dutch-process)
Instructions
- Preheat your oven to 300F, setting the racks in the upper and lower thirds of the oven.
- Line 2 half-sheet pans or cookie sheets with parchment.
- Fill a pie plate or a small bowl with some granulated sugar. Set aside.
- In a medium bowl, whisk together flour and baking soda.
- In a large microwave-safe bowl, melt the butter for 1 minute. Whisk until completely melted. If it still hasn't completely melted after a couple of minutes of whisking, microwave again for 15-20 seconds. You just don't want the butter to be so hot that it cooks the egg whites.
- Whisk in the sugar, oil, instant coffee, corn syrup, vanilla, and salt. The instant coffee may not completely dissolve, but it will mix in evenly in the next steps, so worry not.
- Thoroughly whisk the egg whites in last.
- Add the cocoa powder and whisk until completely moistened and evenly combined.
- Dump in the flour mixture and mix in with a silicone spatula until completely combined.
- Allow the dough to sit for about 5 minutes to make it easier to work with.
- Scoop level tablespoons of dough, and drop into the bowl of sugar.
- Roll so the balls are completely coated in granulated sugar, and place them 12 to a pan, on your half-sheet pans or cookie sheets.
- Bake for 16-18 minutes, switching racks and rotating pans halfway through the baking time.
- Cookies are done when the edges are crisp and the tops are firm.
- Let cookies cool on pans for 3-5 minutes before transferring to cooling racks to cool completely.
- Repeat with the remaining dough.
- Let cookies cool completely, and store in a tightly-sealed container at room temperature for up to 5 days.
Nutrition Information
Yield 30 Serving Size 2 cookiesAmount Per Serving Calories 132Total Fat 6.3gSaturated Fat 3.7gCholesterol 14mgSodium 220mgCarbohydrates 19.2gFiber 1.2gSugar 10.8gProtein 1.7g
Thanks for spending some time with me today.
If you love a good crispy cookie, I think you’ll really appreciate these crispy cocoa cookies.
Take care, and have a lovely day.

Want me to shoot new recipes and an occasional email into your inbox?
You can do that by signing up here for my newsletter, The Inbox Pastry Chef.
I’ll be seeing you!
The post Crispy Cocoa Cookies Recipe appeared first on Pastry Chef Online.

