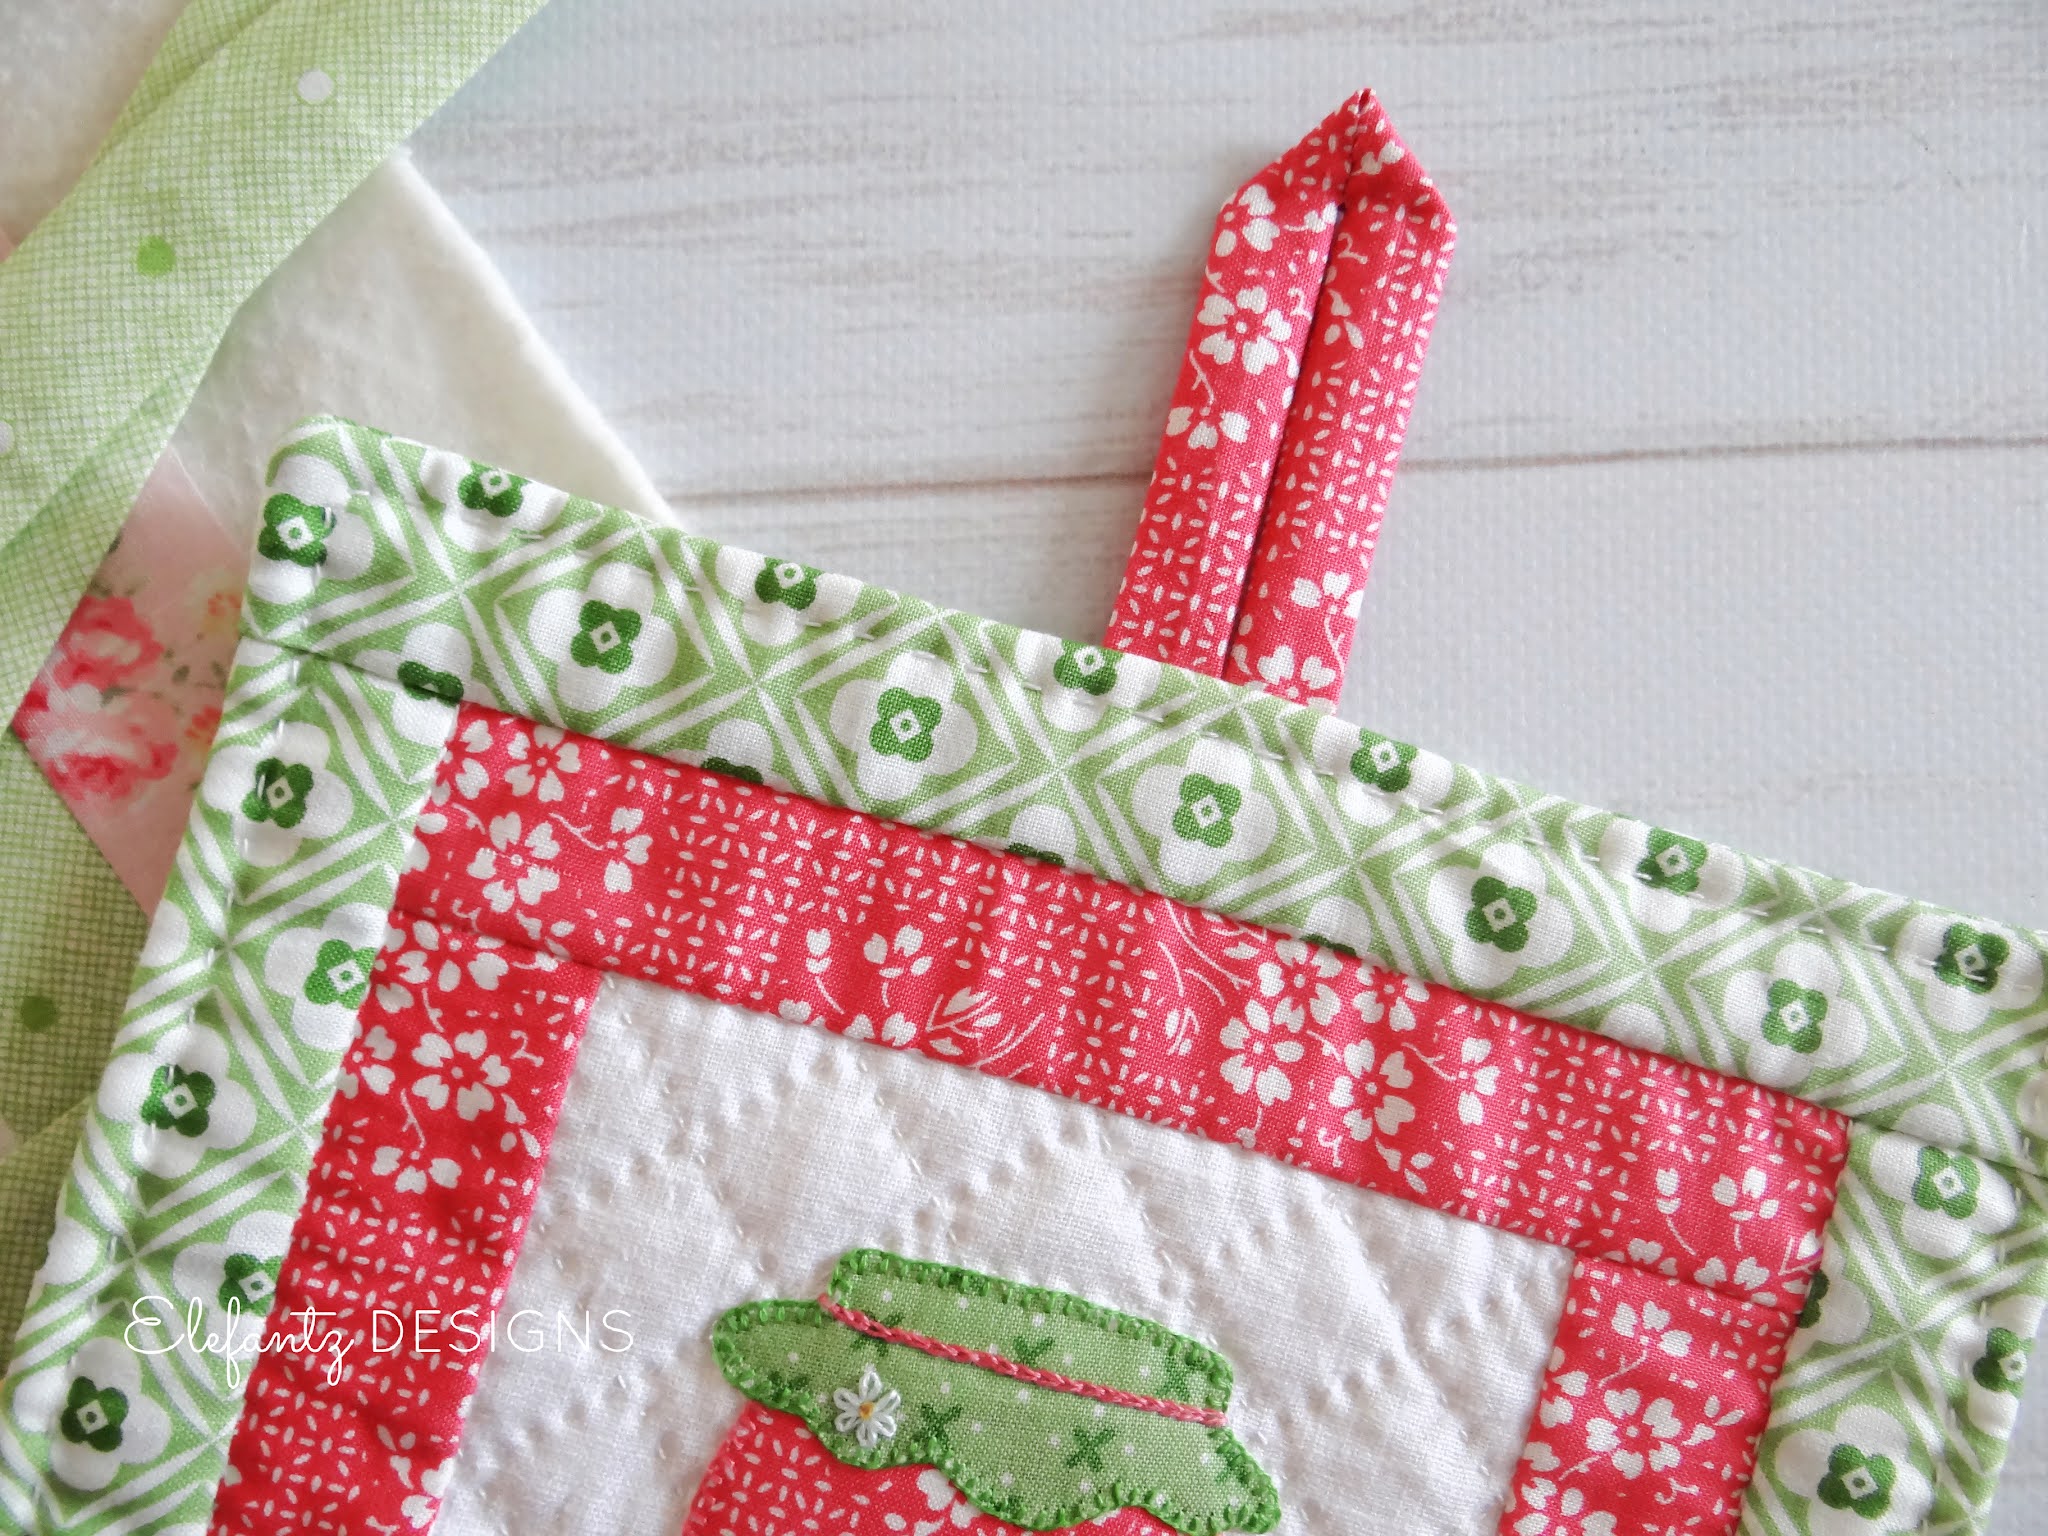
After my post last week with the free Jam Jar pot holder pattern I received a number of requests to show how I made the little hanging loop, so yesterday as I was beginning work on a UFO finish for November it occurred to me that I could photograph the steps to make those loops for you, because they'd be appearing again in my UFO anyhow.
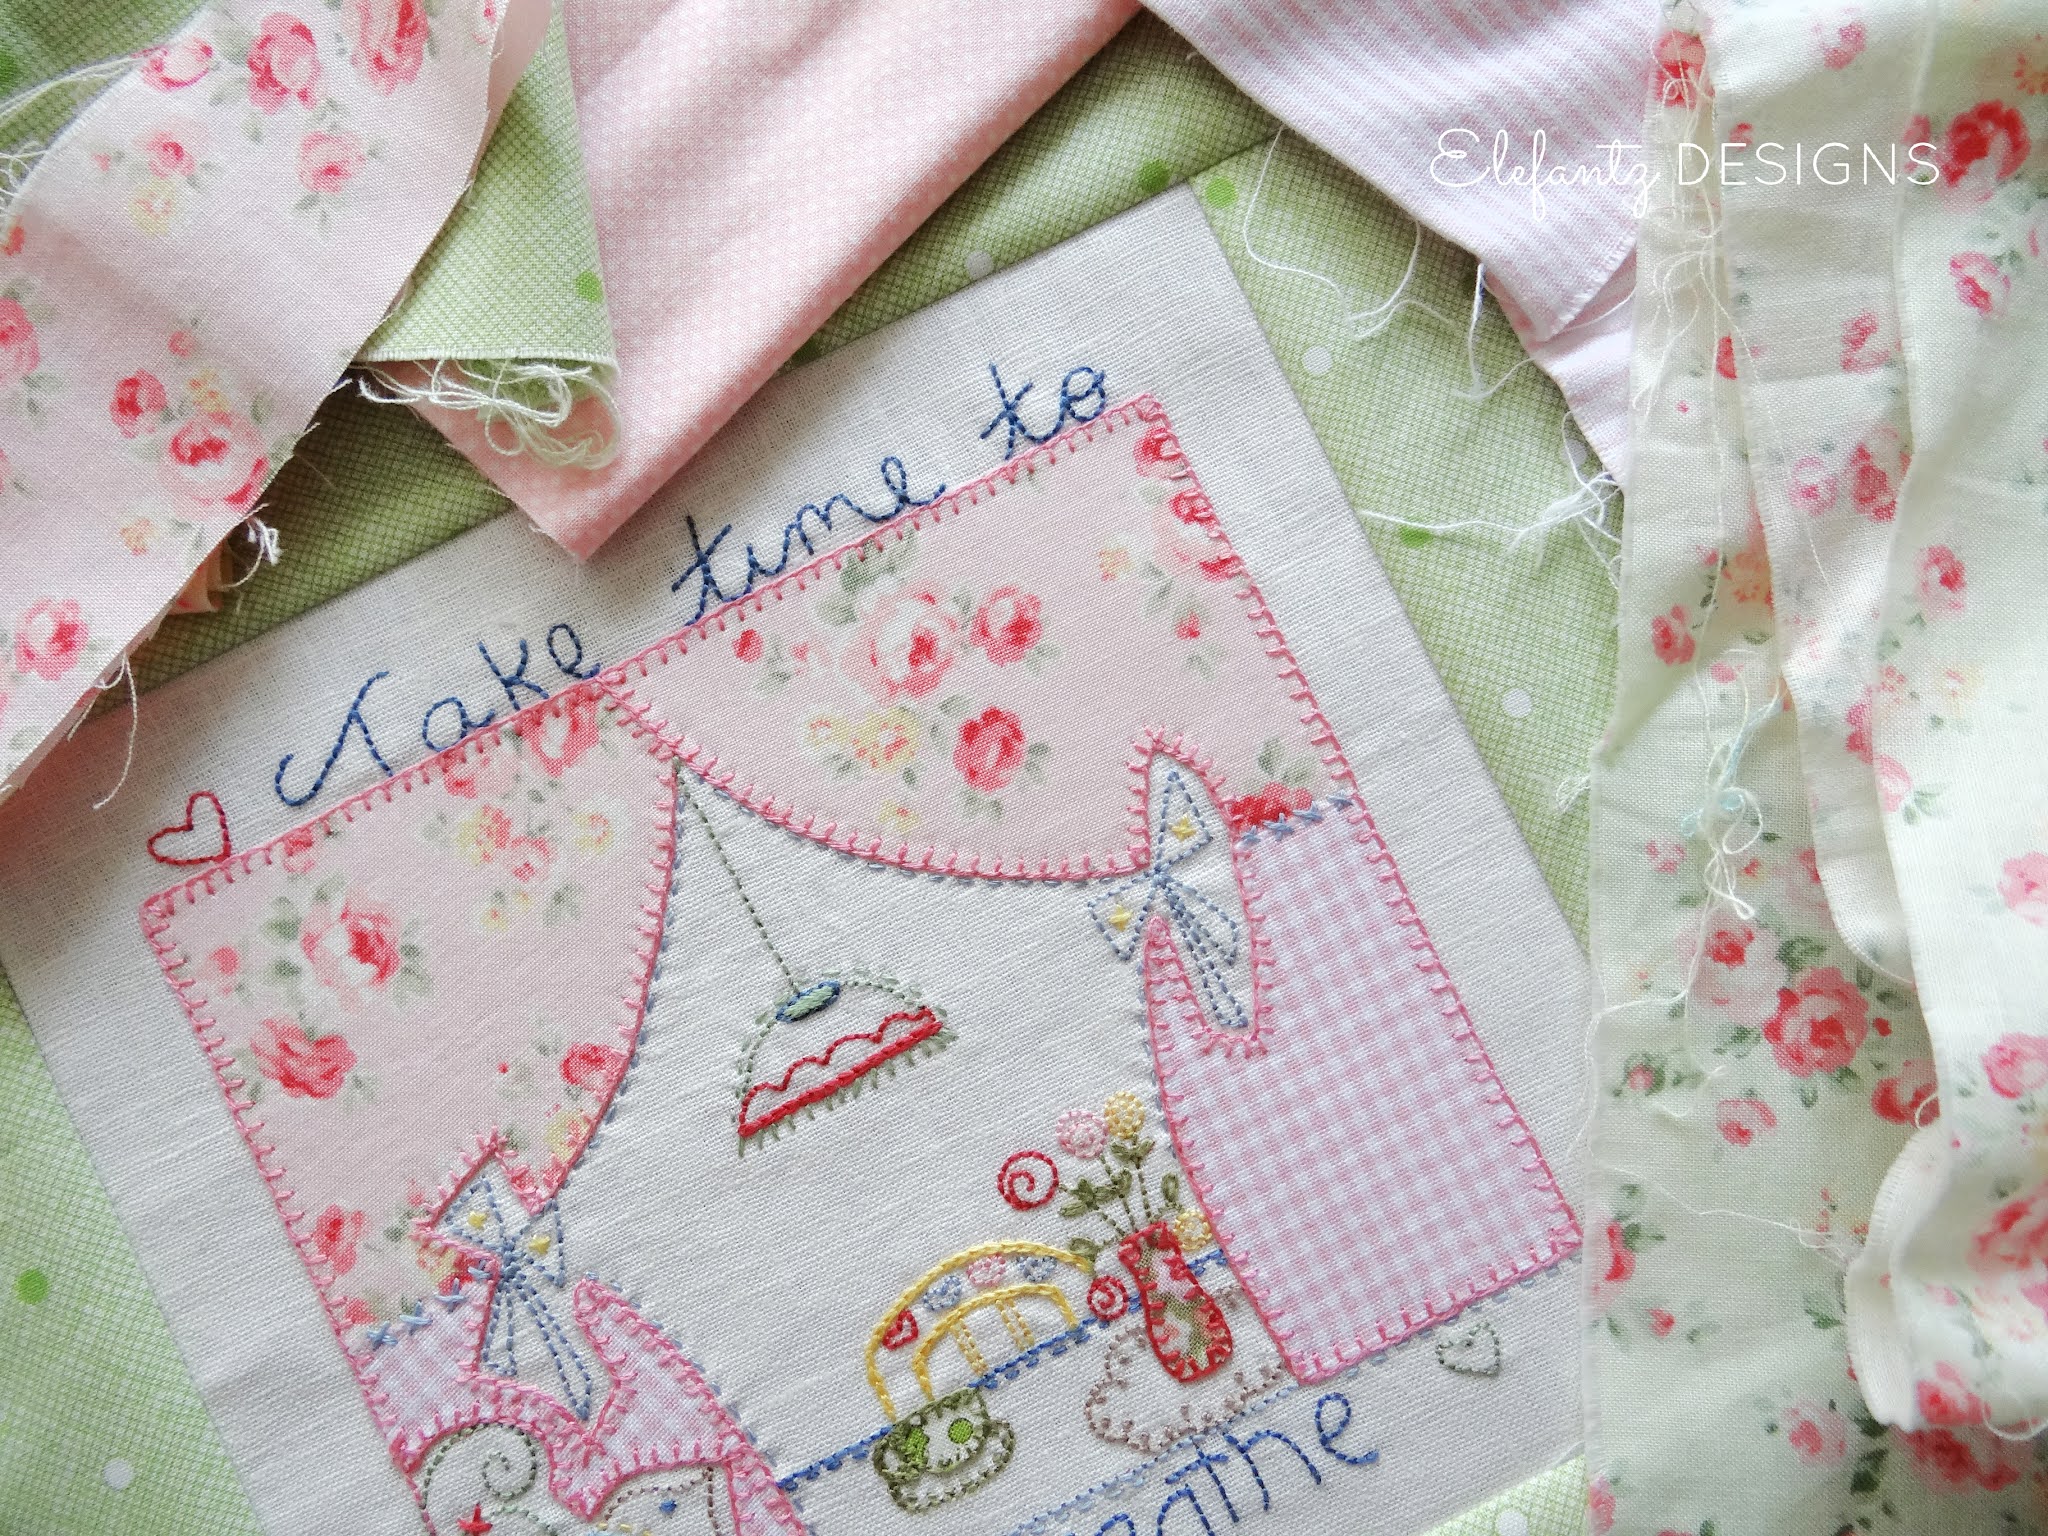
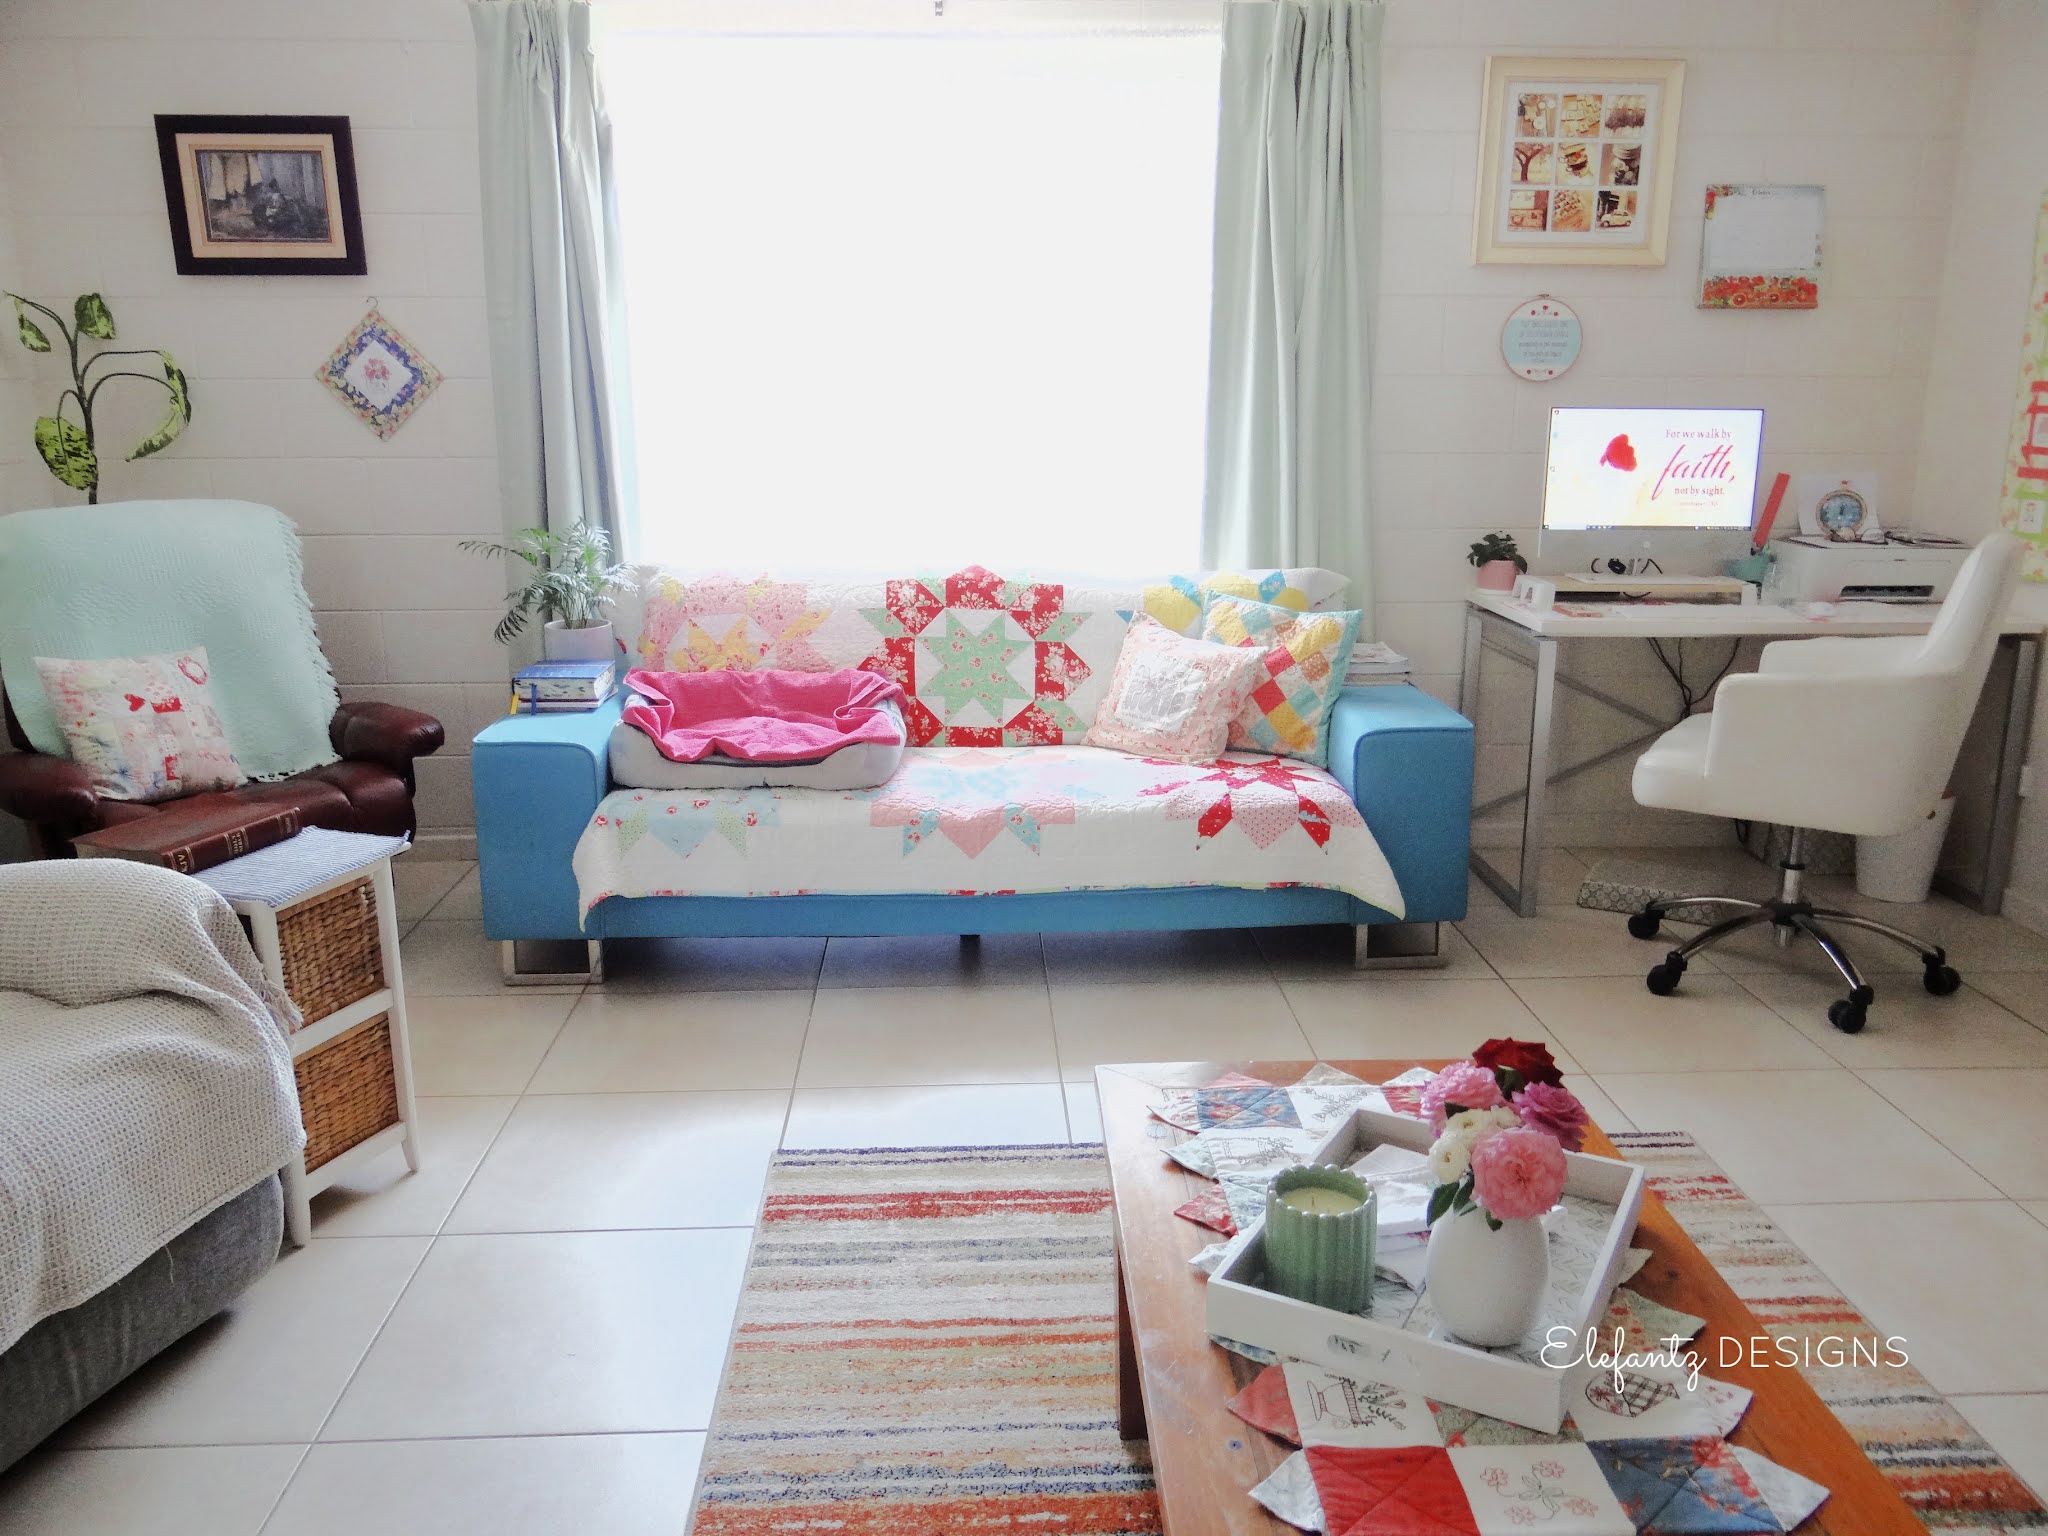
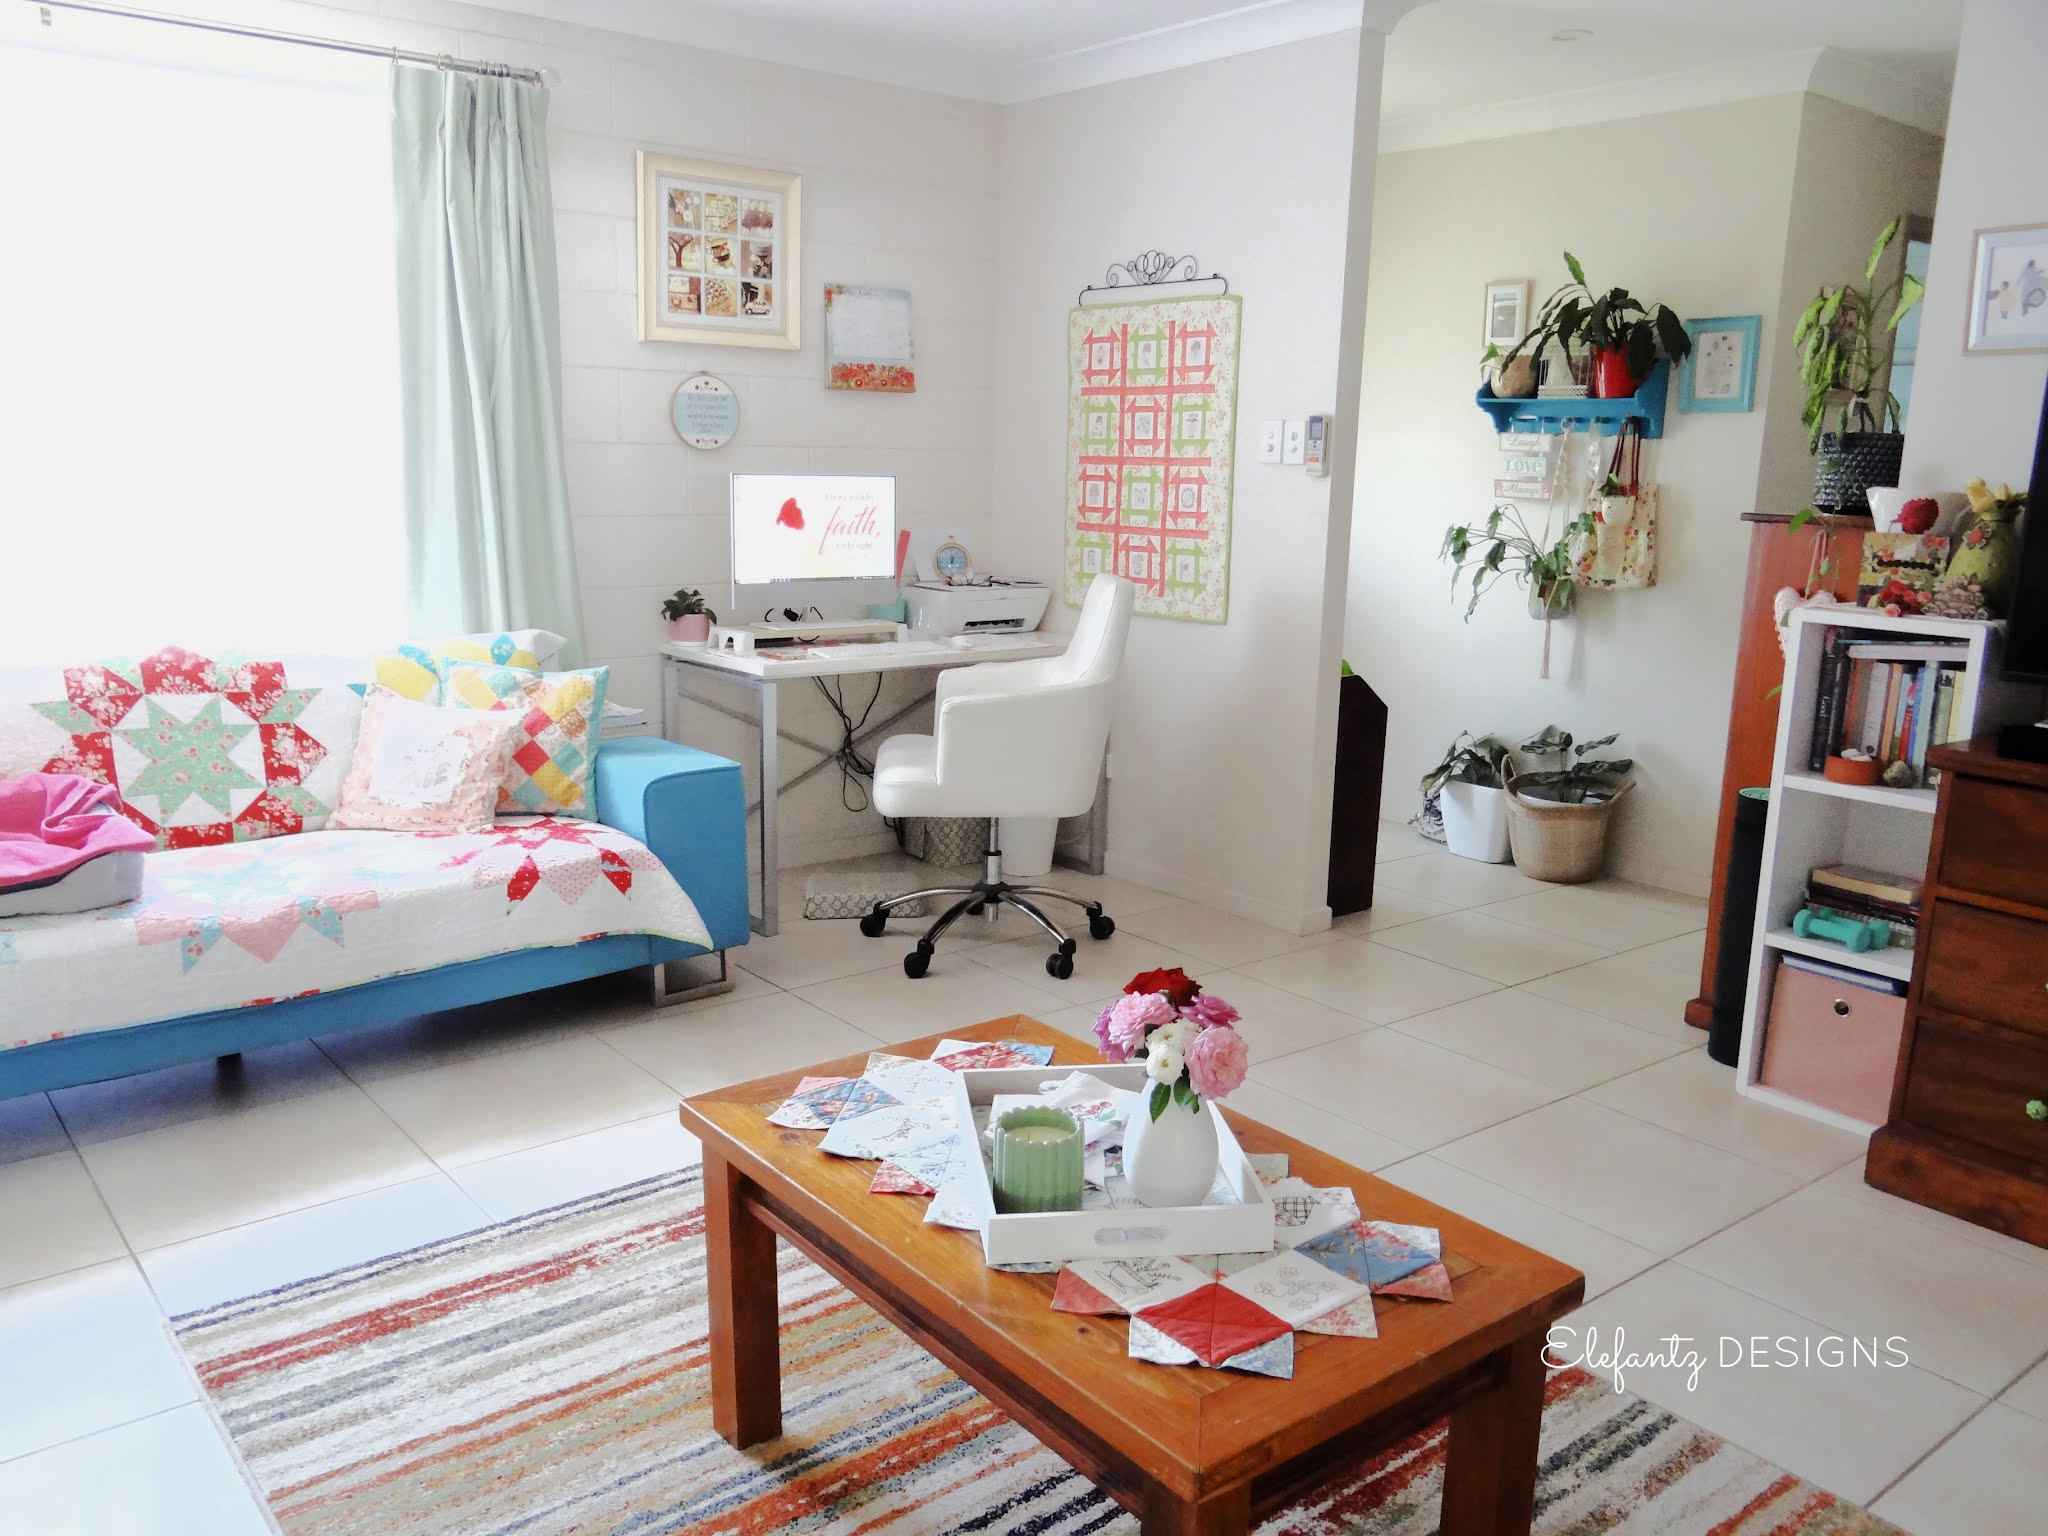
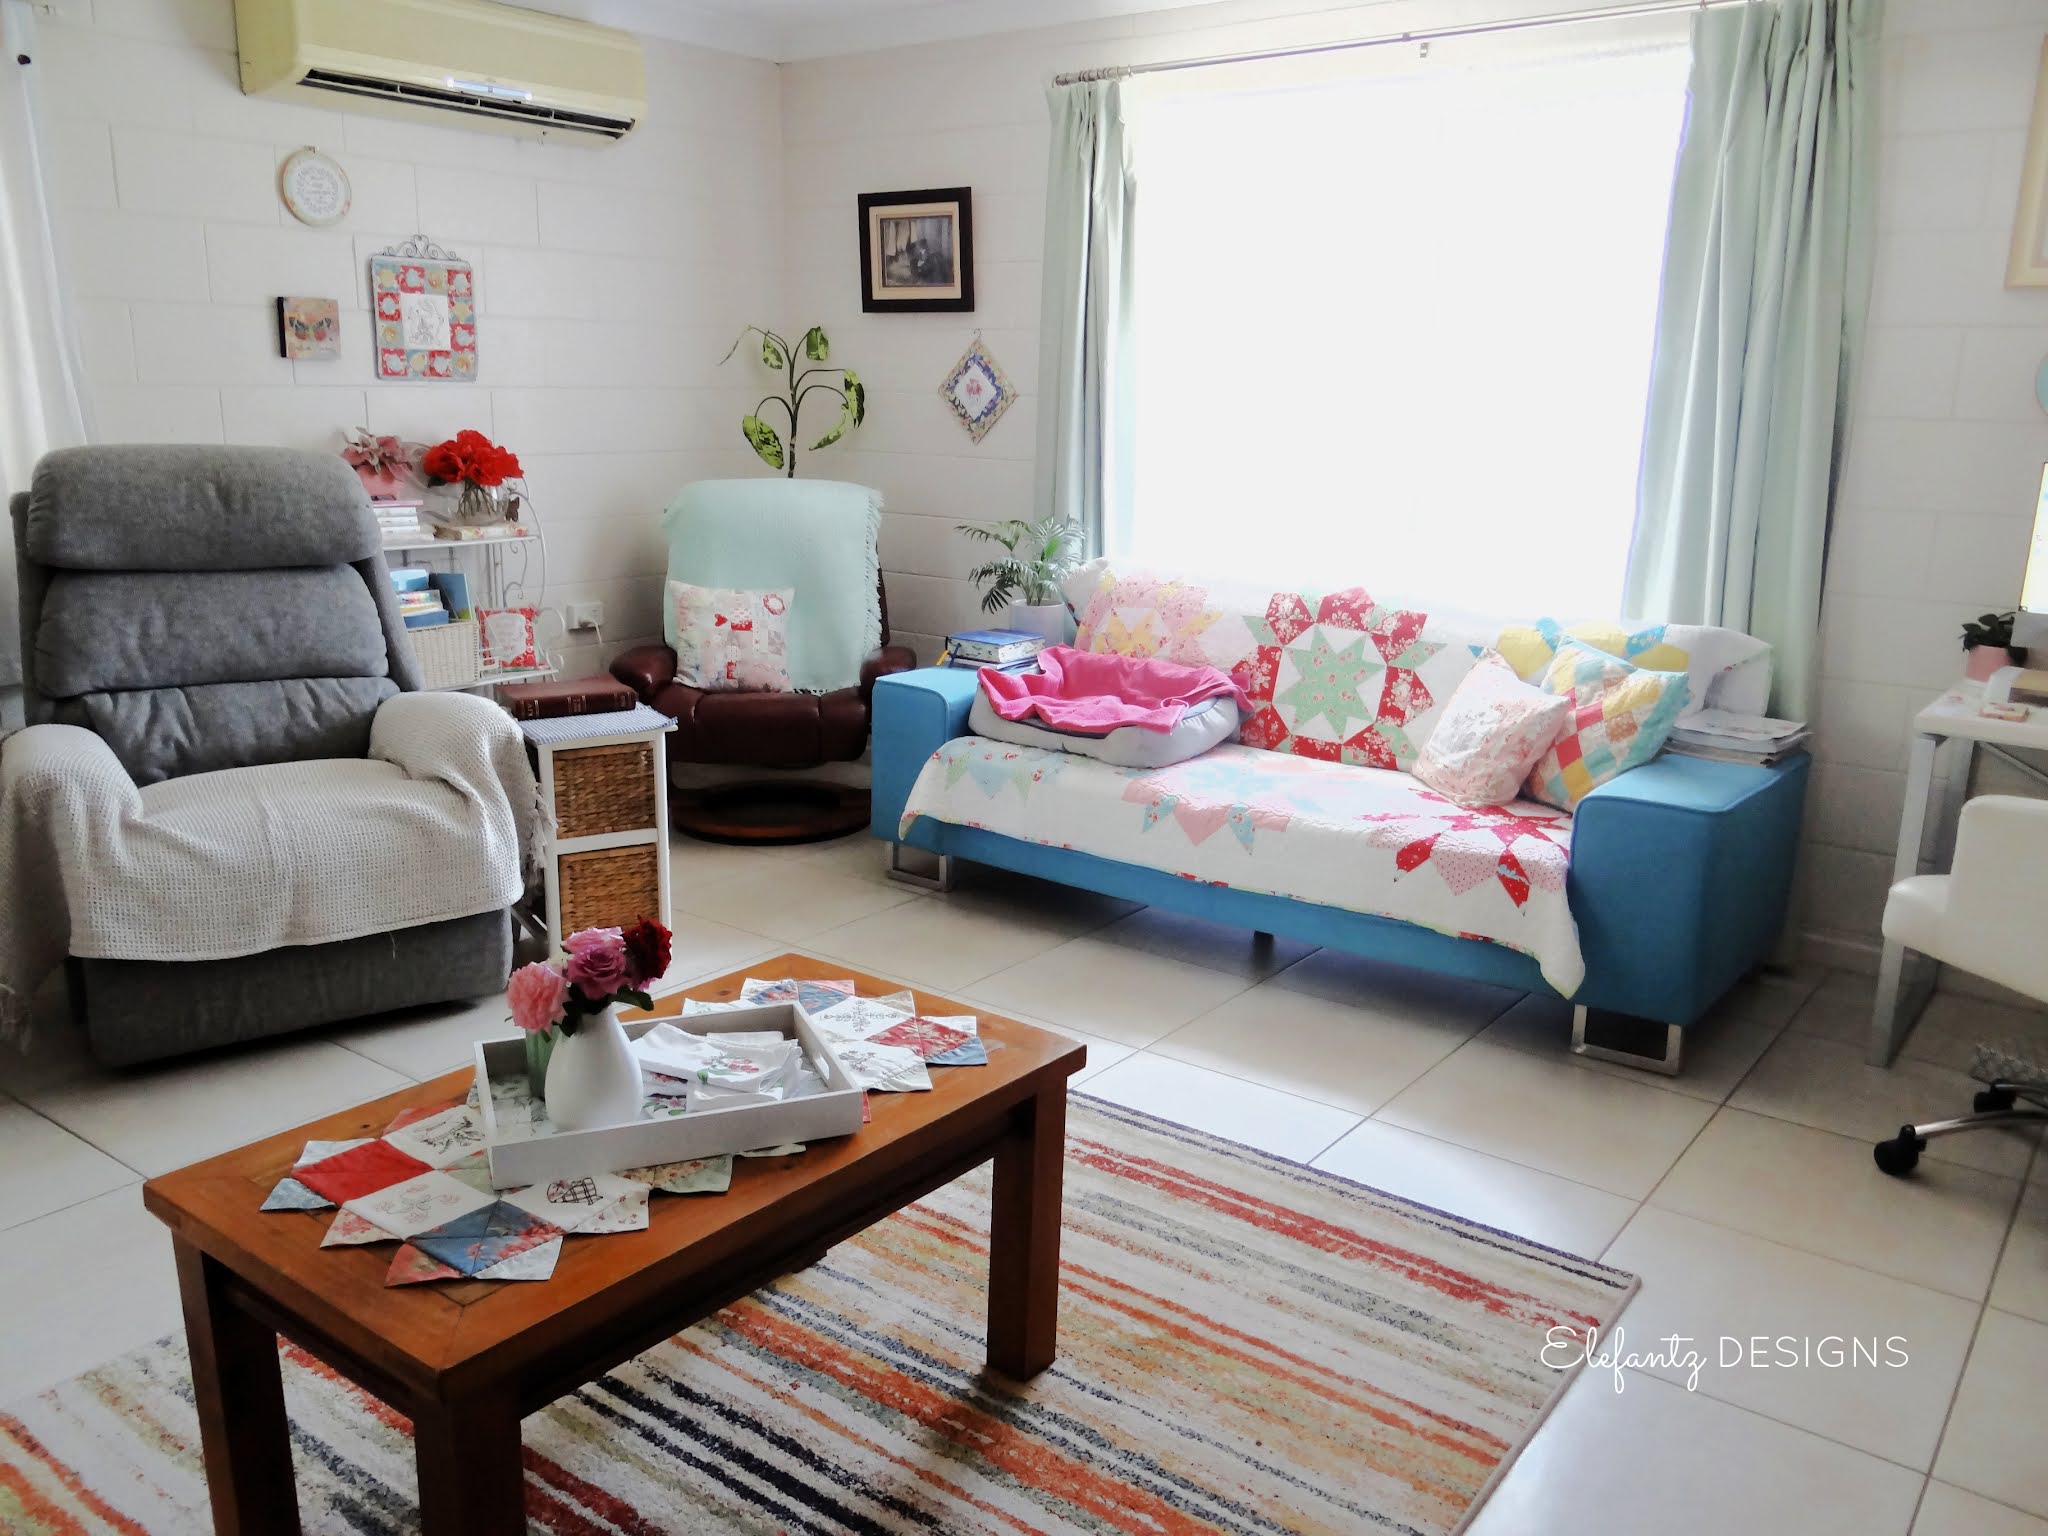
Back in 2016 I released twelve 'gentle domesticity' applique and stitchery designs, but up until now I have only used three of the blocks in actual projects, so browsing through them yesterday I got to thinking about various ways they could be displayed in our home. I also decided that these blocks would become part of my monthly UFO challenge for the rest of this year and into 2022. Will you be joining me? Originally I wrote that this would kick off in November, but after a heavy morning of cleaning and rearranging the living/dining room I retreated to the sewing room to go through my UFOs and choose one to start on immediately.
I barely have any of the fabrics used in the applique left, so I'll be mixing and matching what remains from that year with what's on my shelf now.
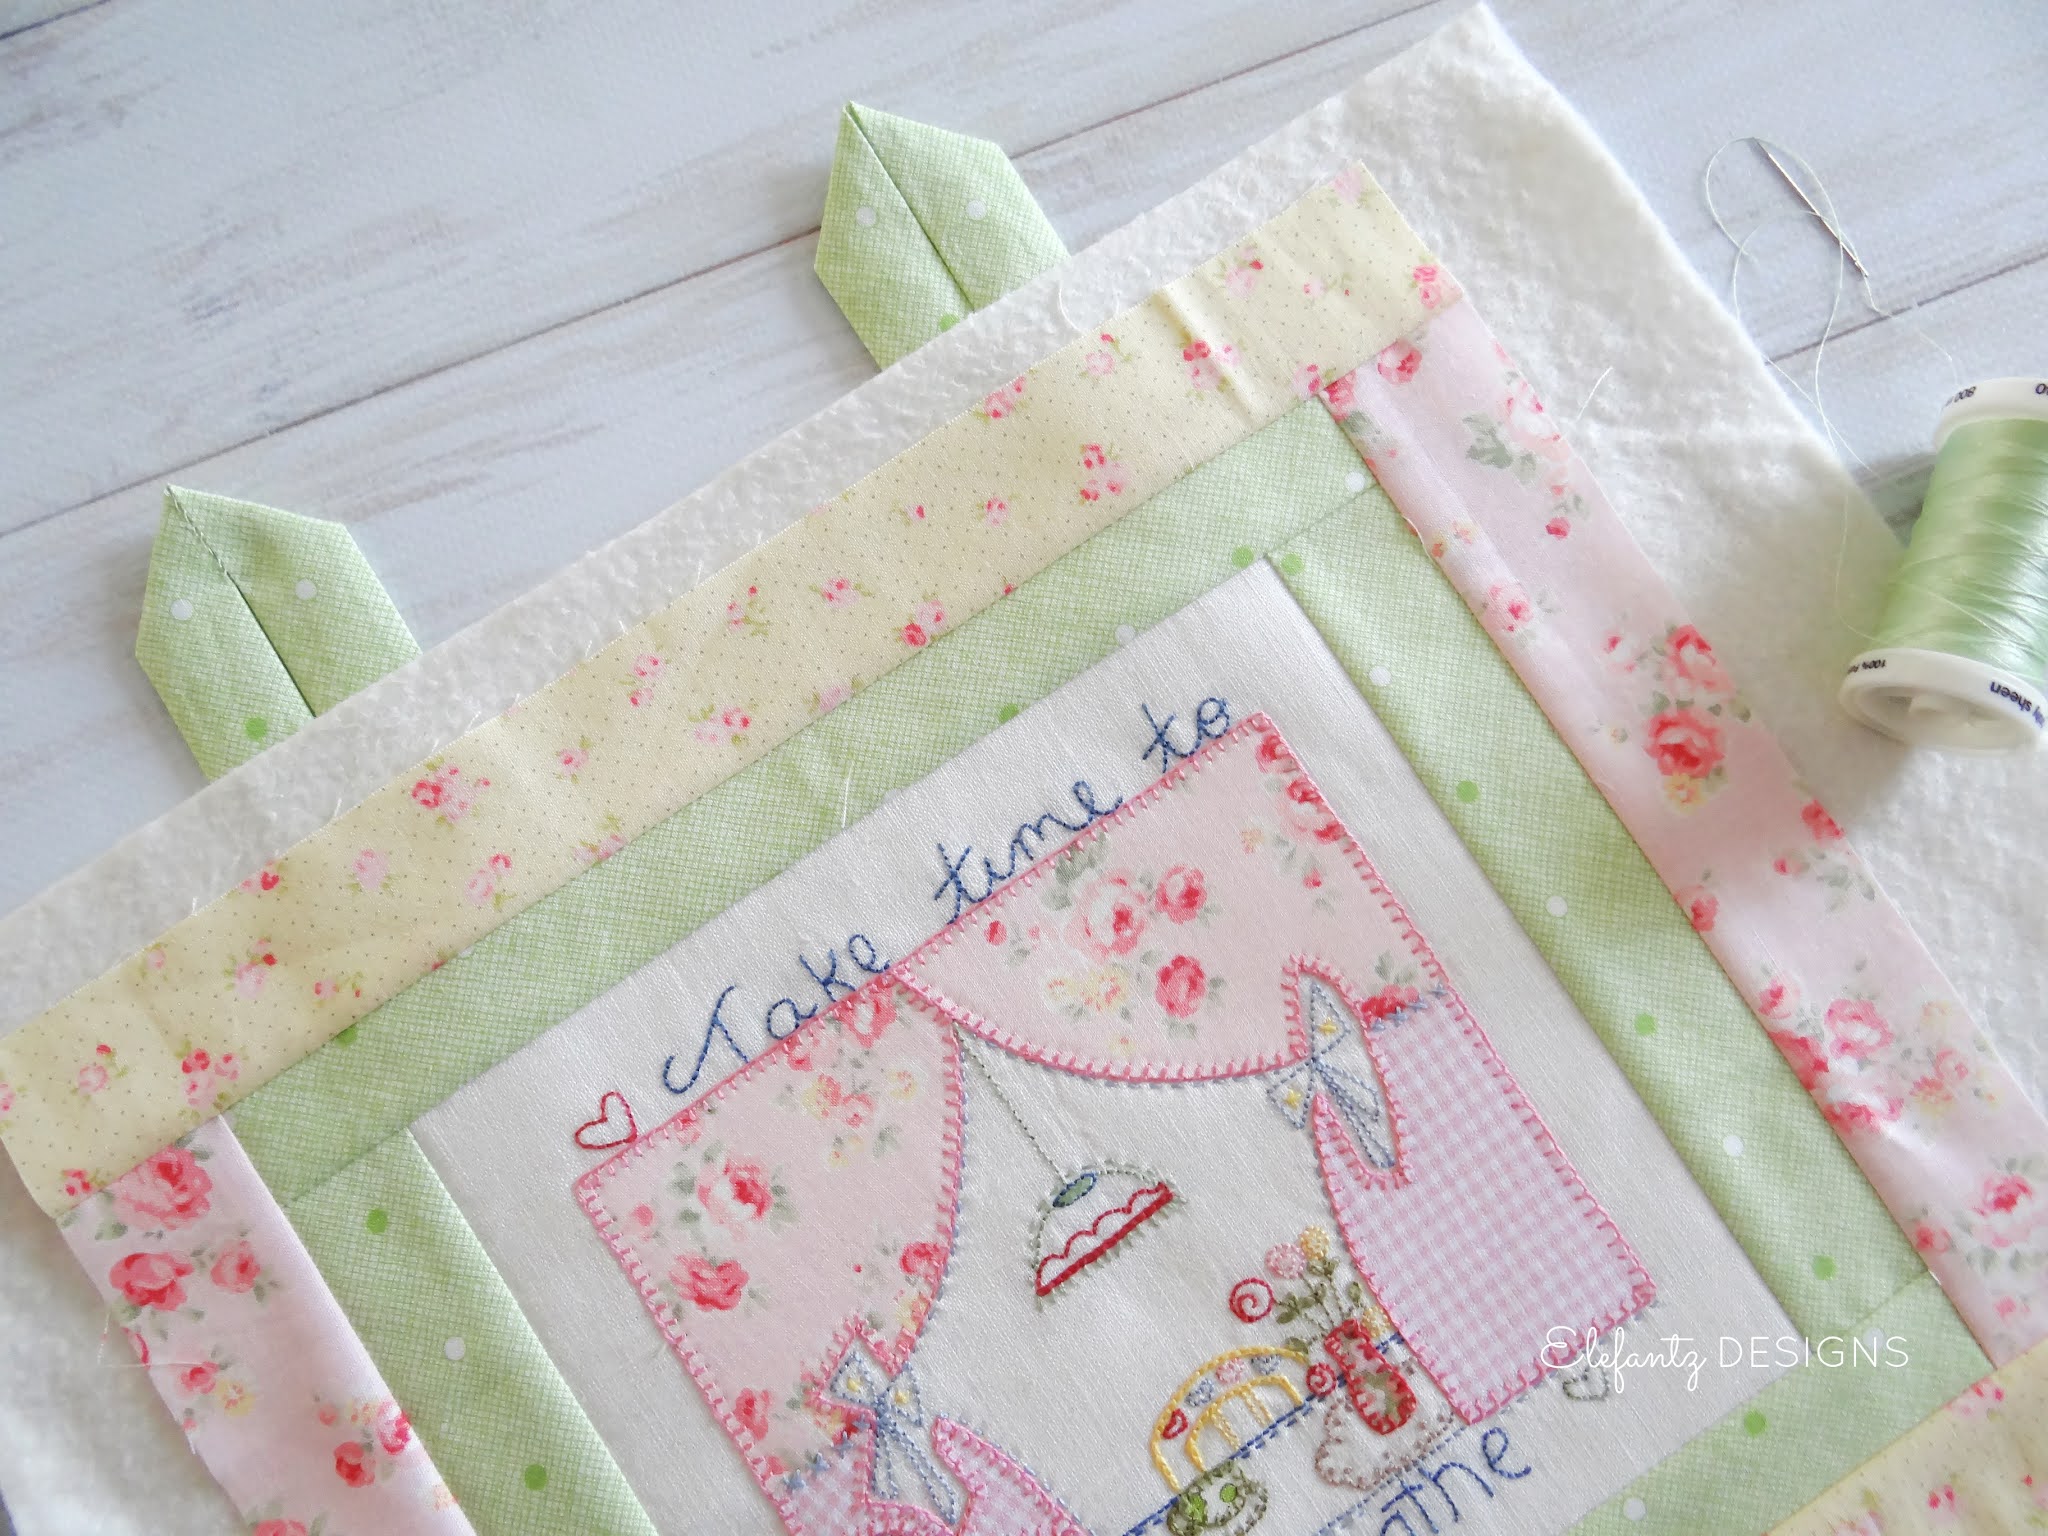
Beginning with the "Take Time to Breathe" block, my idea was to finish it as a mini quilt for the sewing room or a pillow for the bedroom. A few borders later and it was ready for hand quilting...

This was also the perfect time to make some hanging loops like the one I made for 'Jam Jar'.
Hanging loops like this can also be used to secure button closures so whether my UFO is completed as a cushion or mini quilt, I will use the loops.
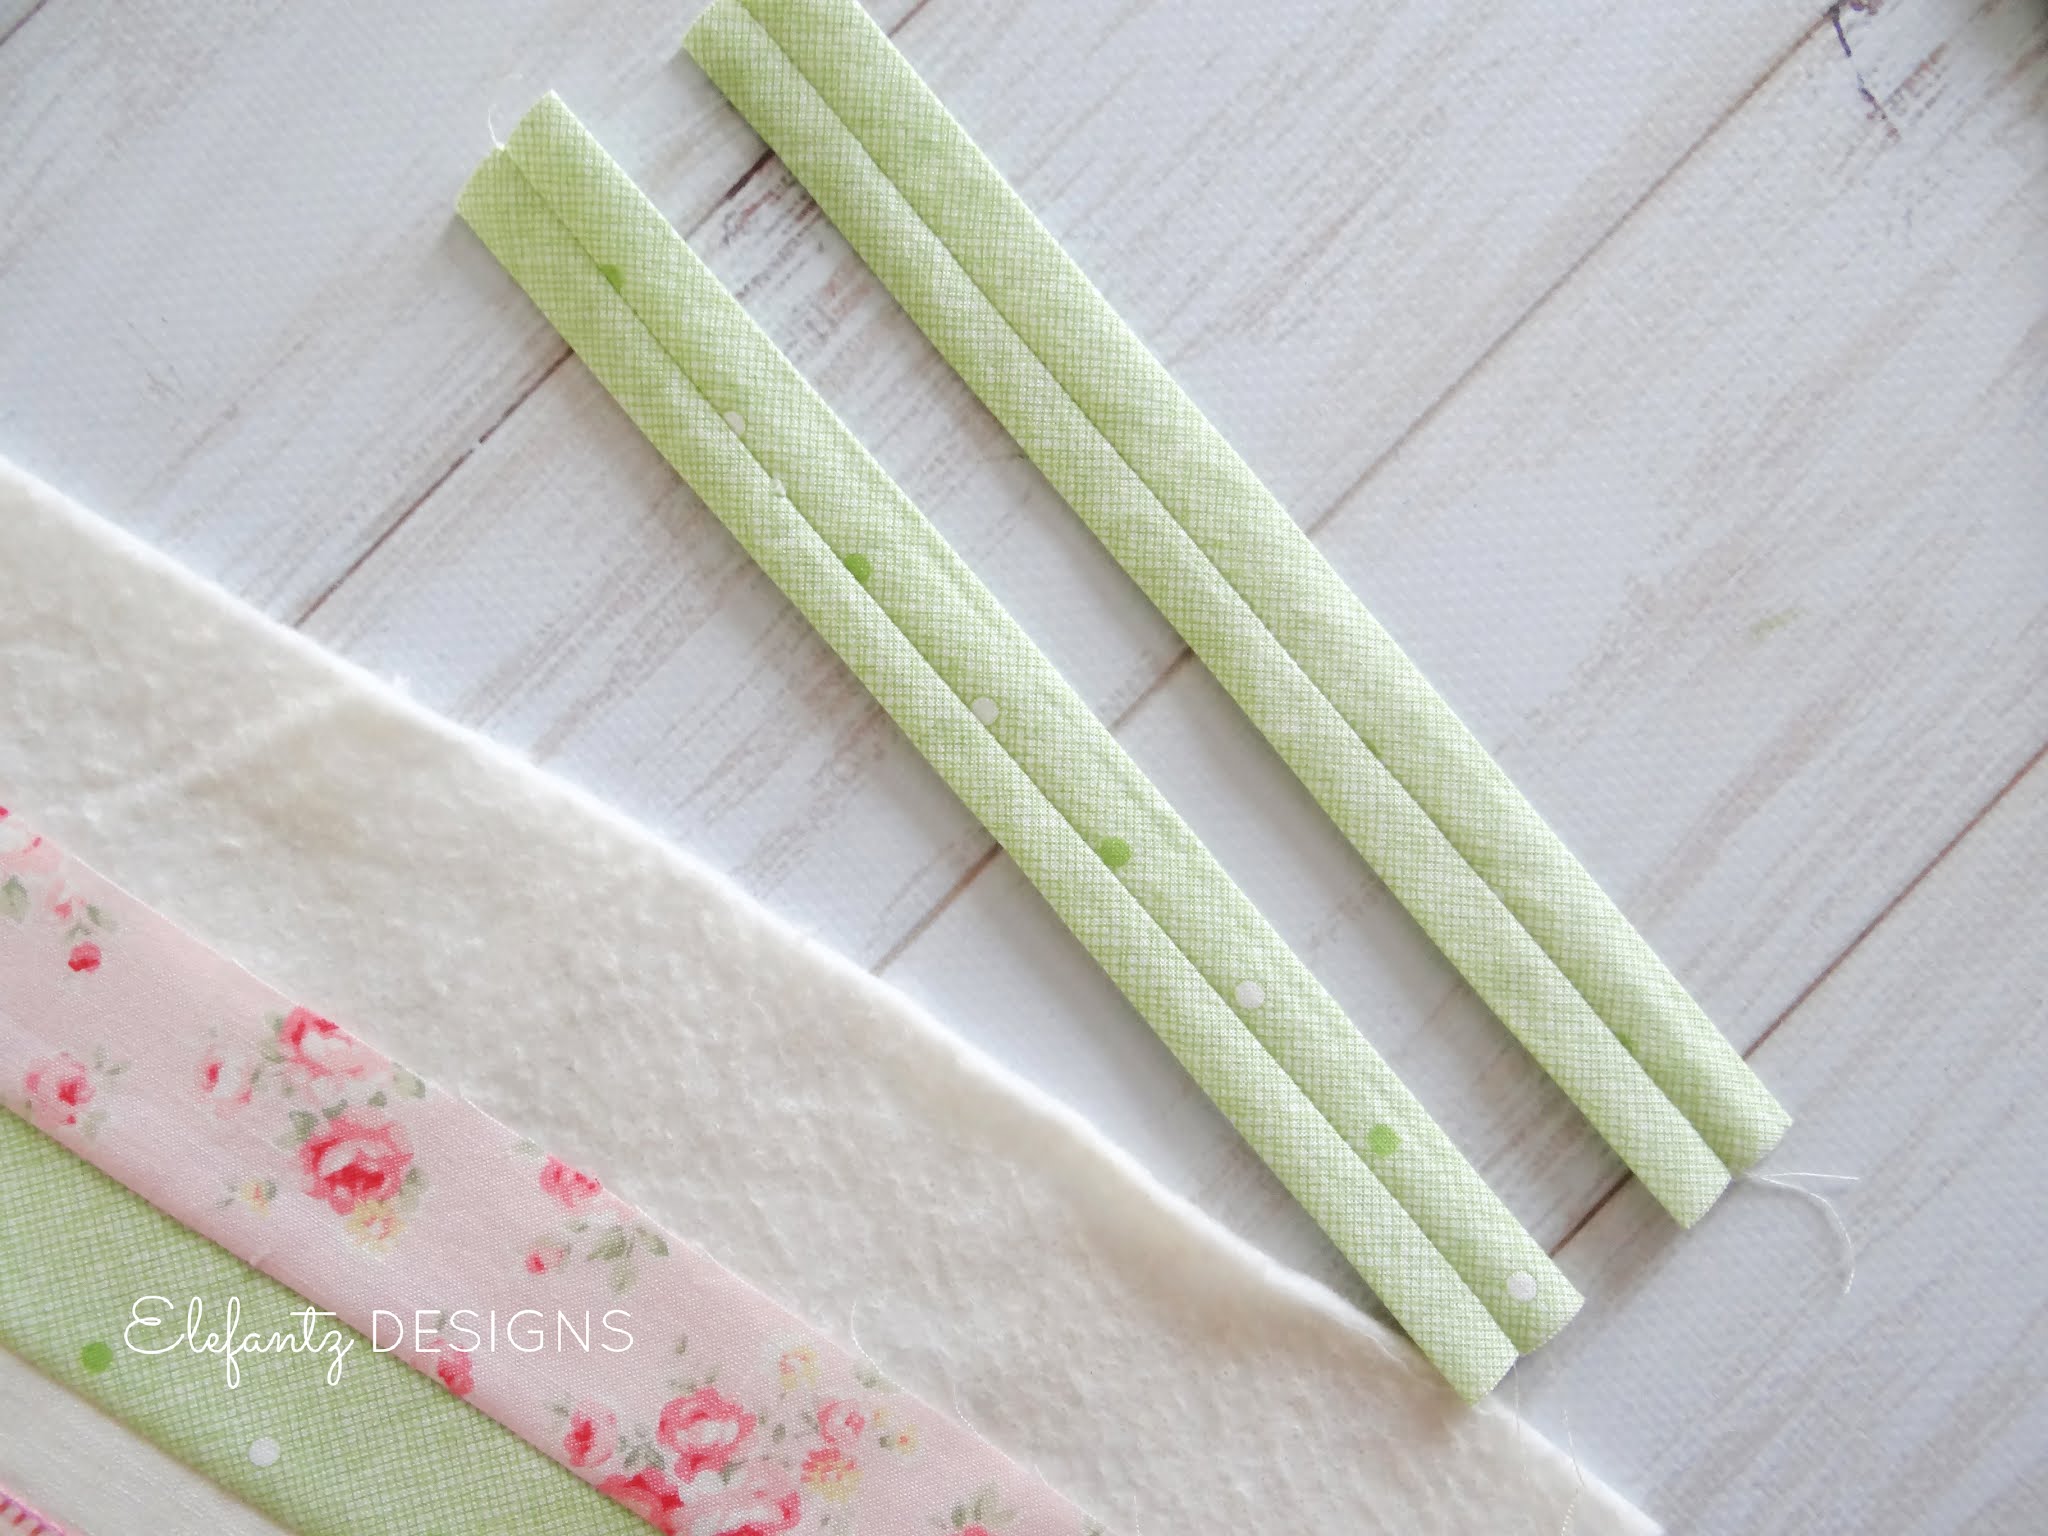
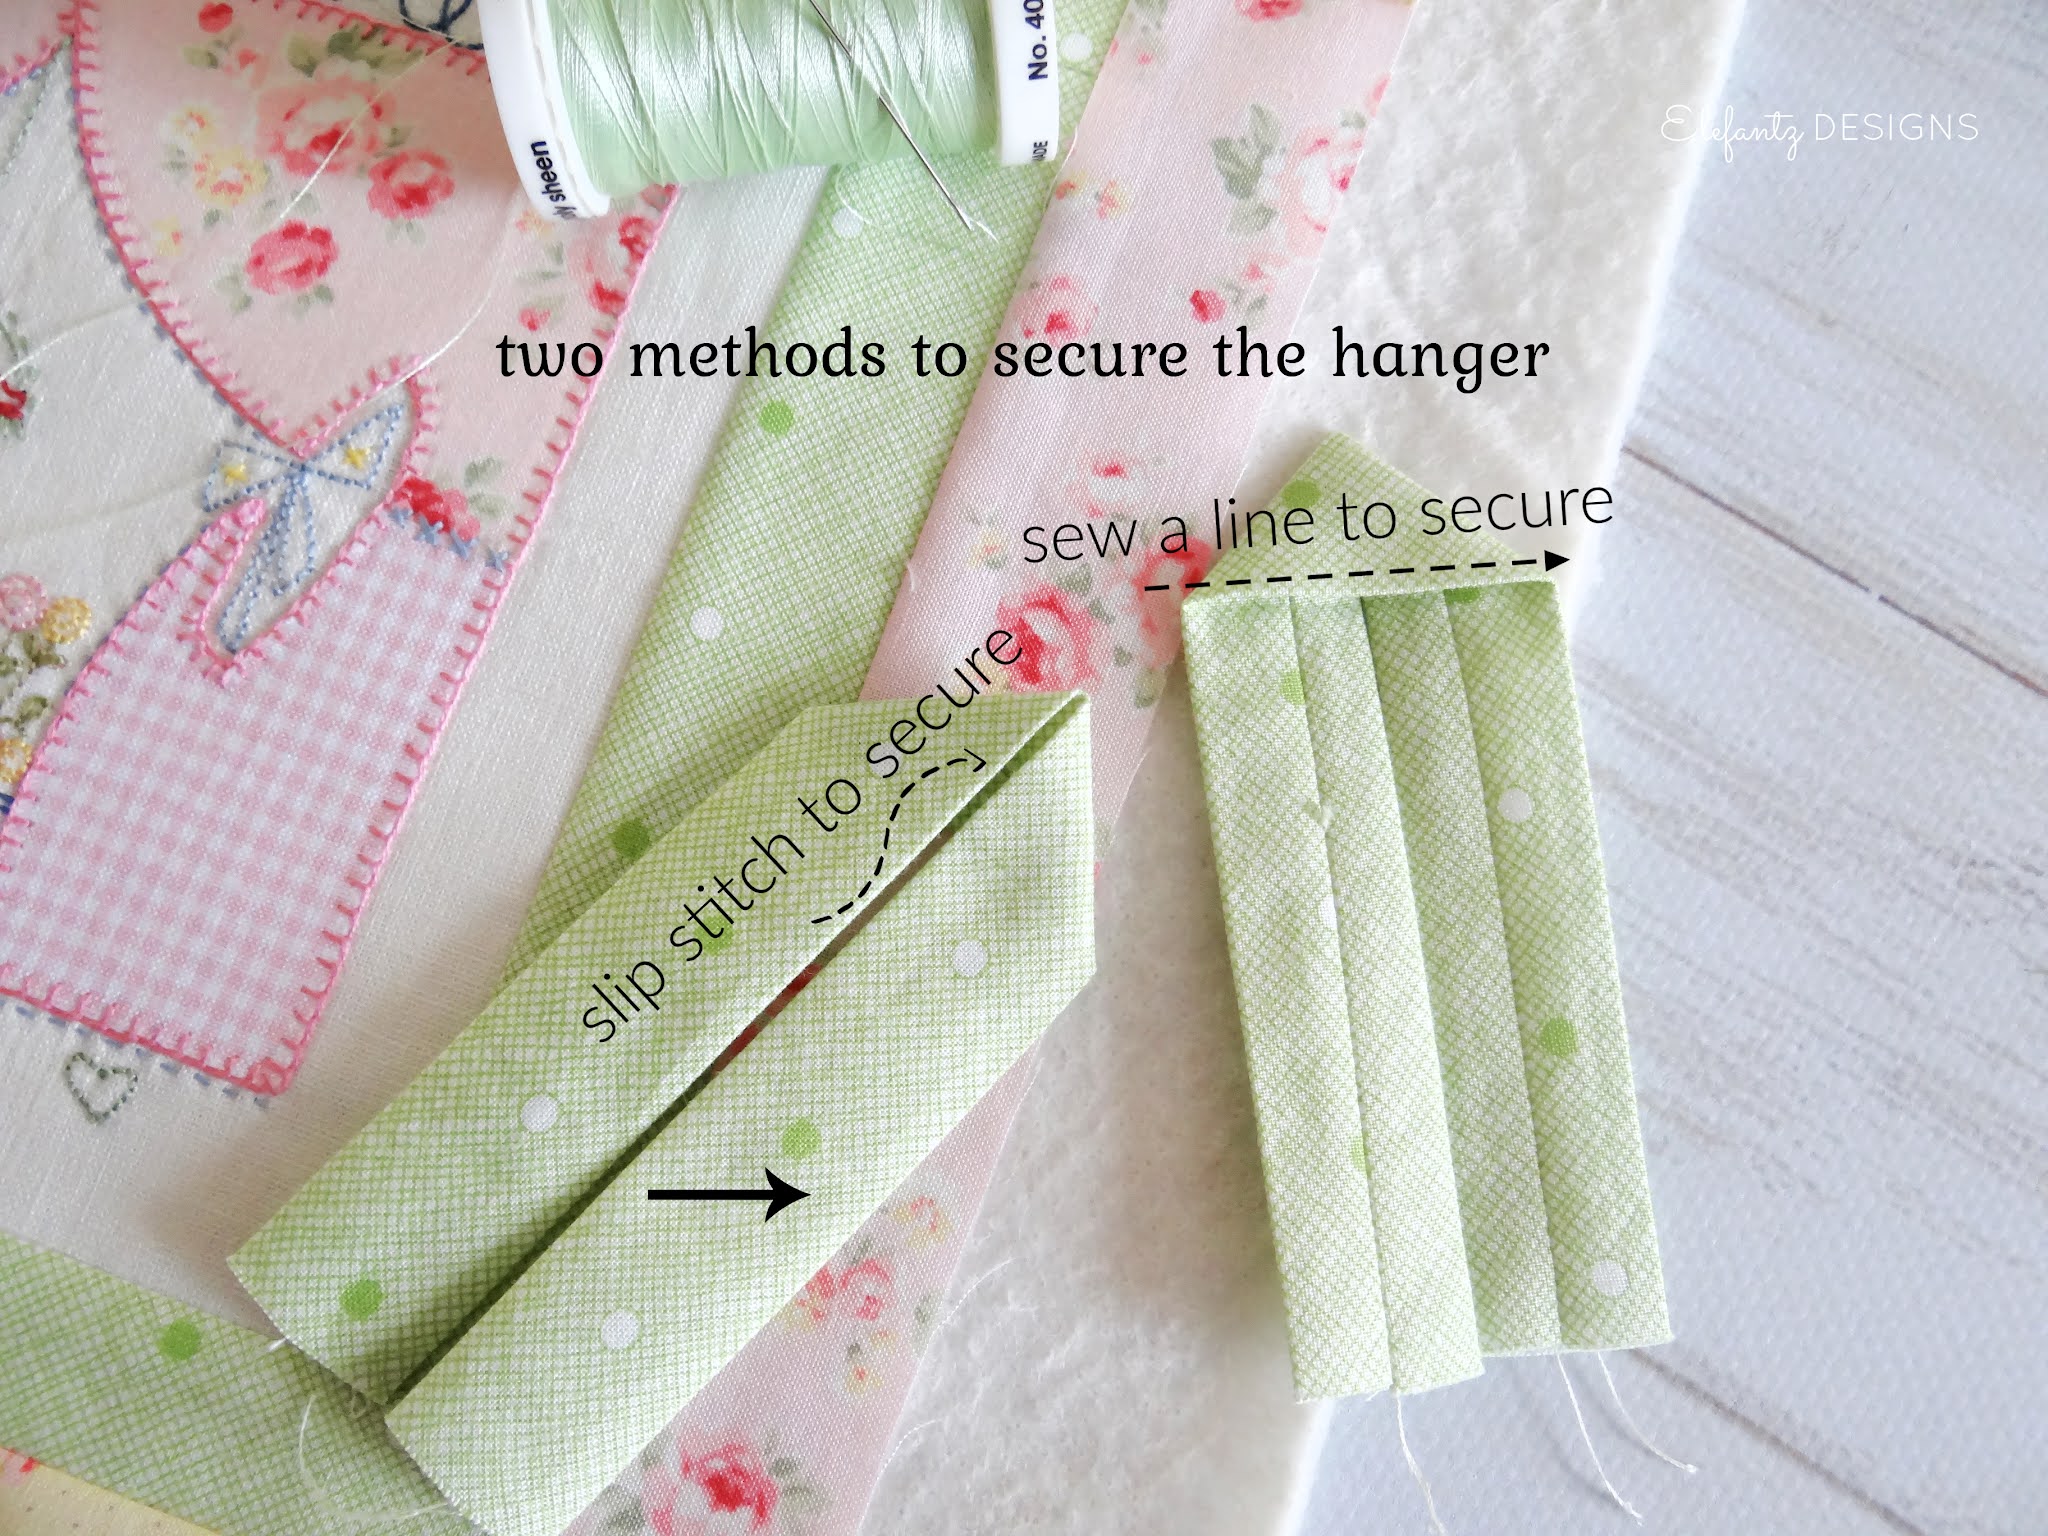
You can make these loops any width you like, simply double the width + 1/4" when cutting the fabric. Choose how long you'd like the loop to be and add 1" in length - you can trim it to the right length after the loop is made.
My loops yesterday finished at 3/4" wide, so I began with 1 3/4" wide fabric strips.
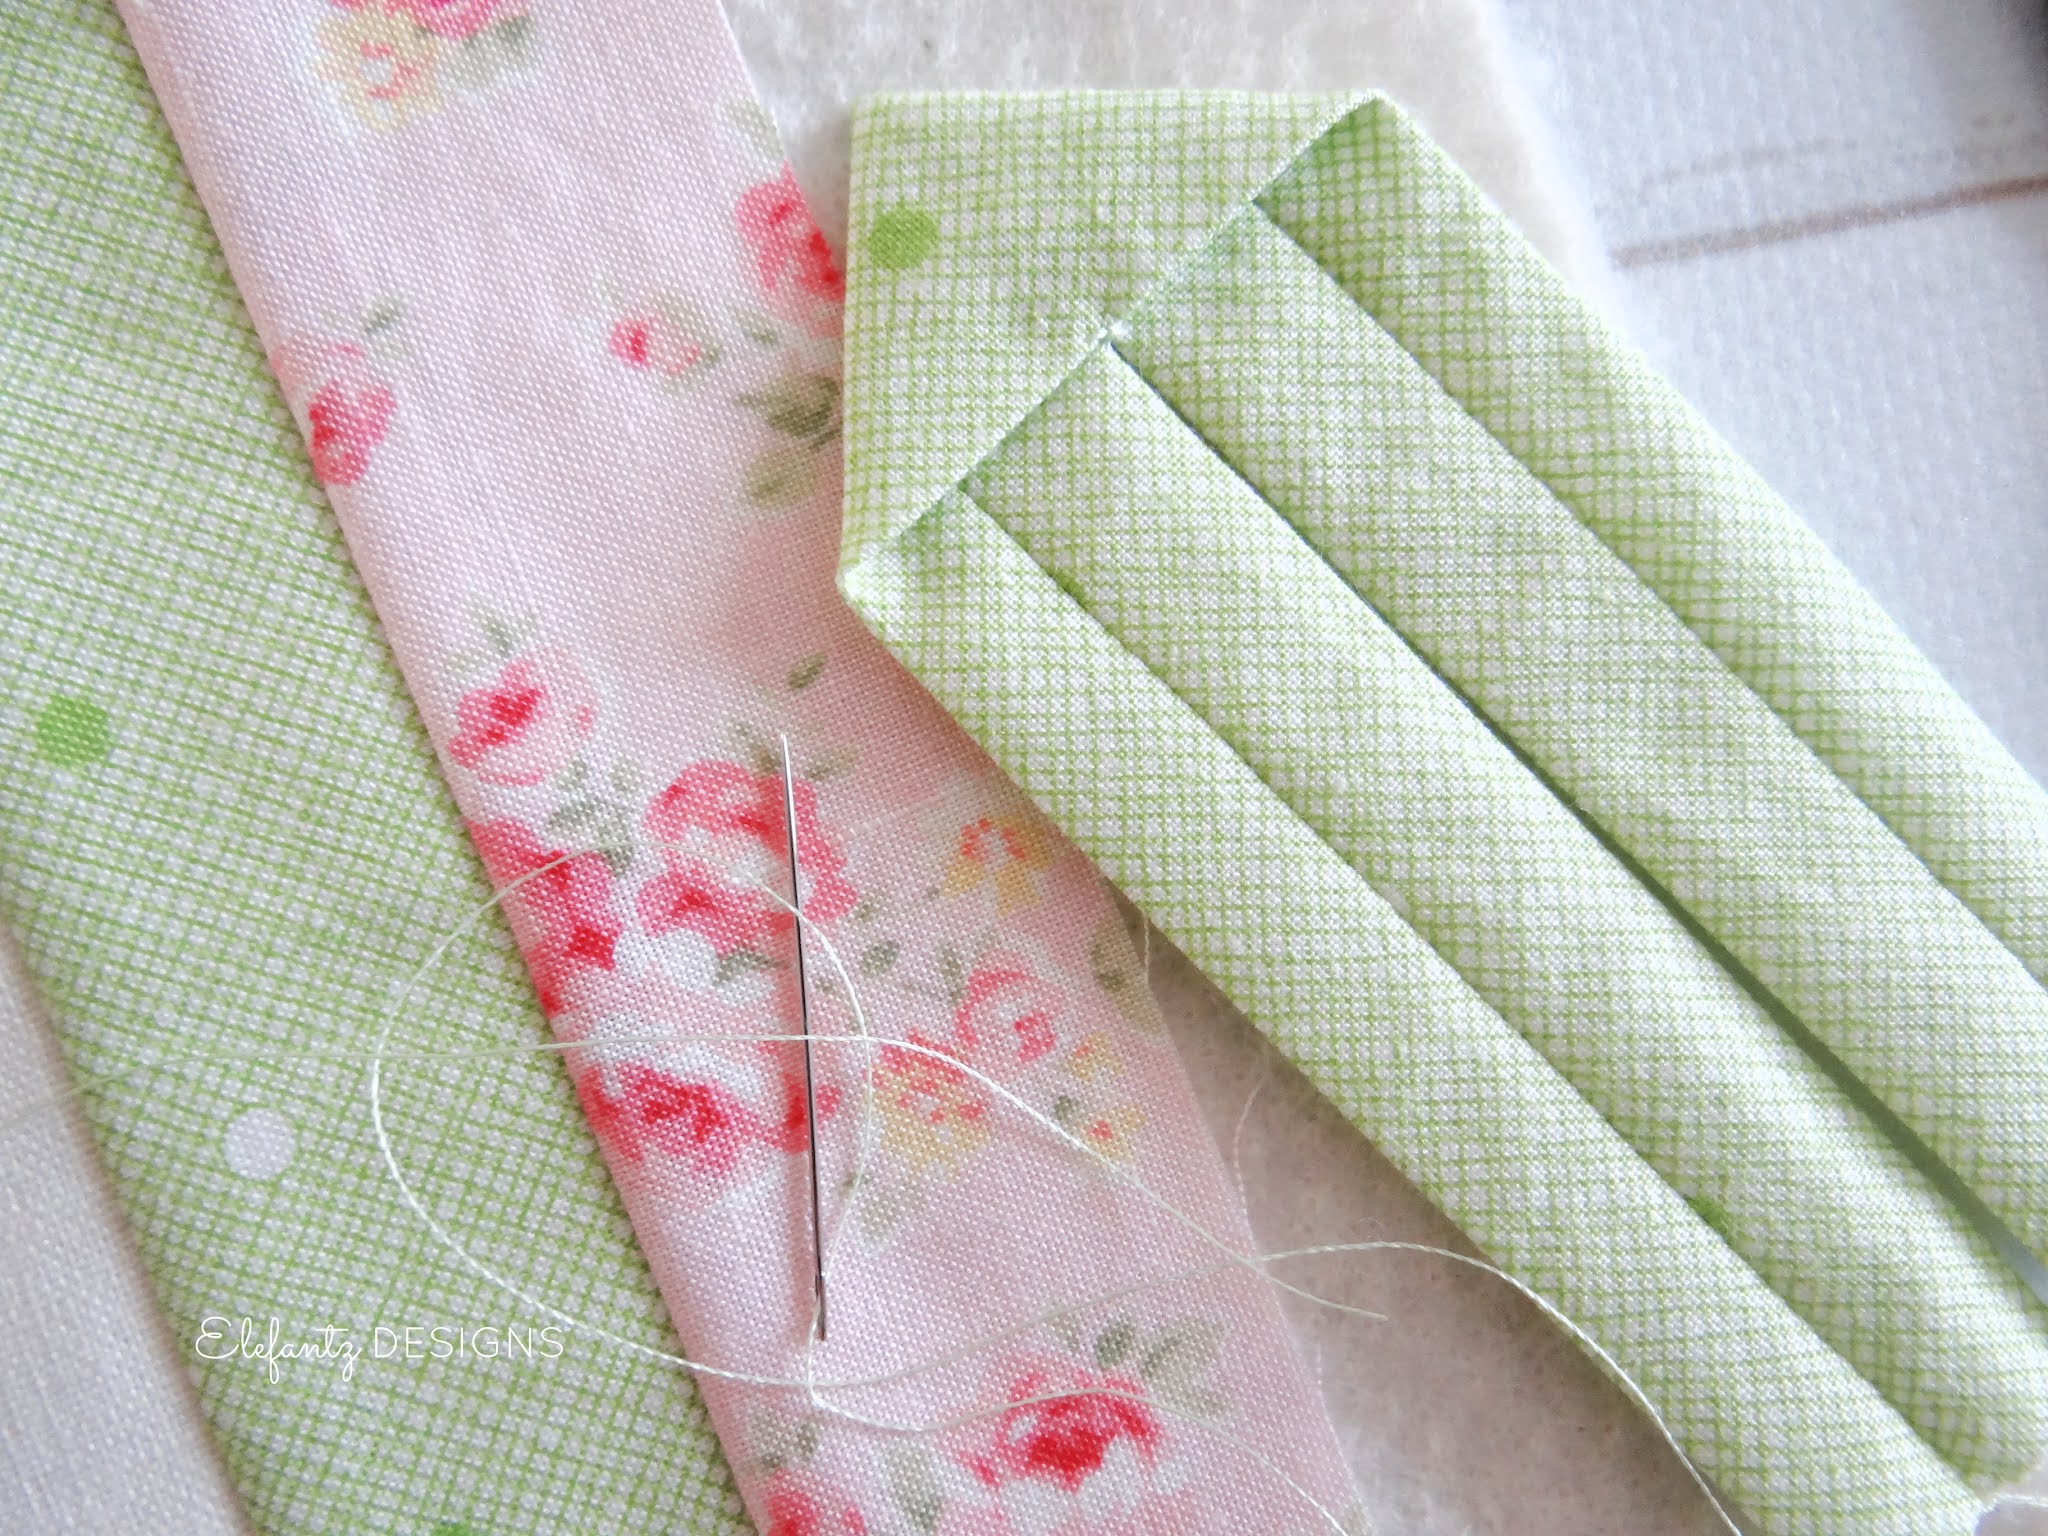
Fold the length/s of fabric in half across their width, wrong sides together, and sew an 1/8" seam along the bare edge. Gently press the seam open before turning right side out and pressing flat so that the seam lies along the middle.
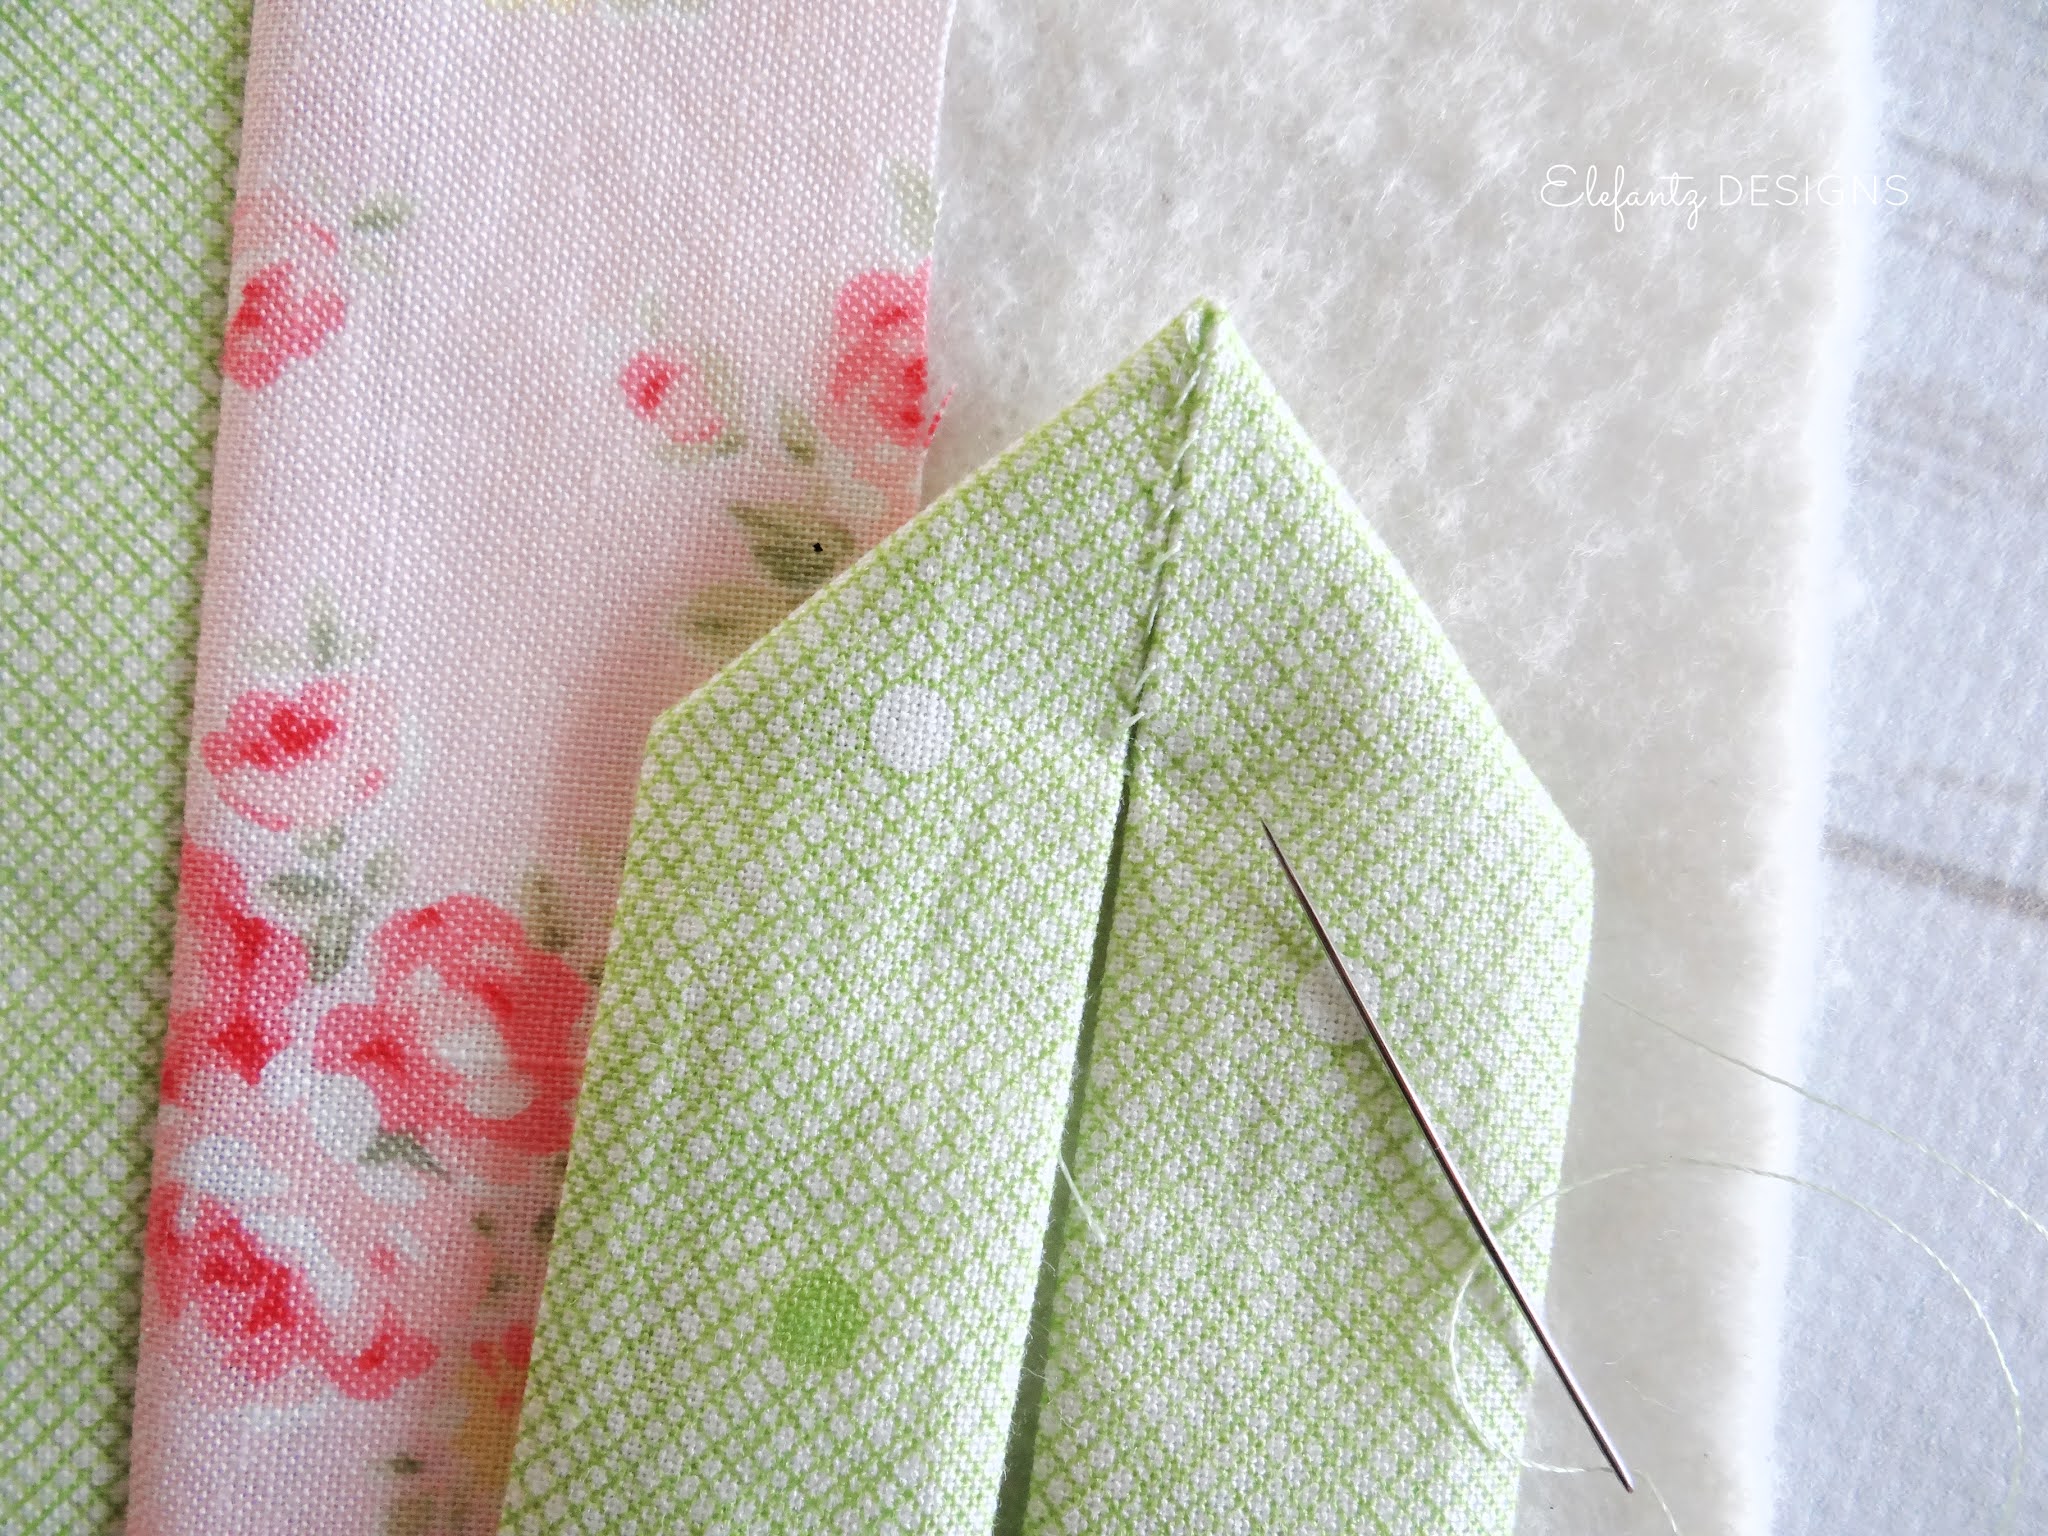
With the right side of the hanging loop facing you, fold the top to create a point...
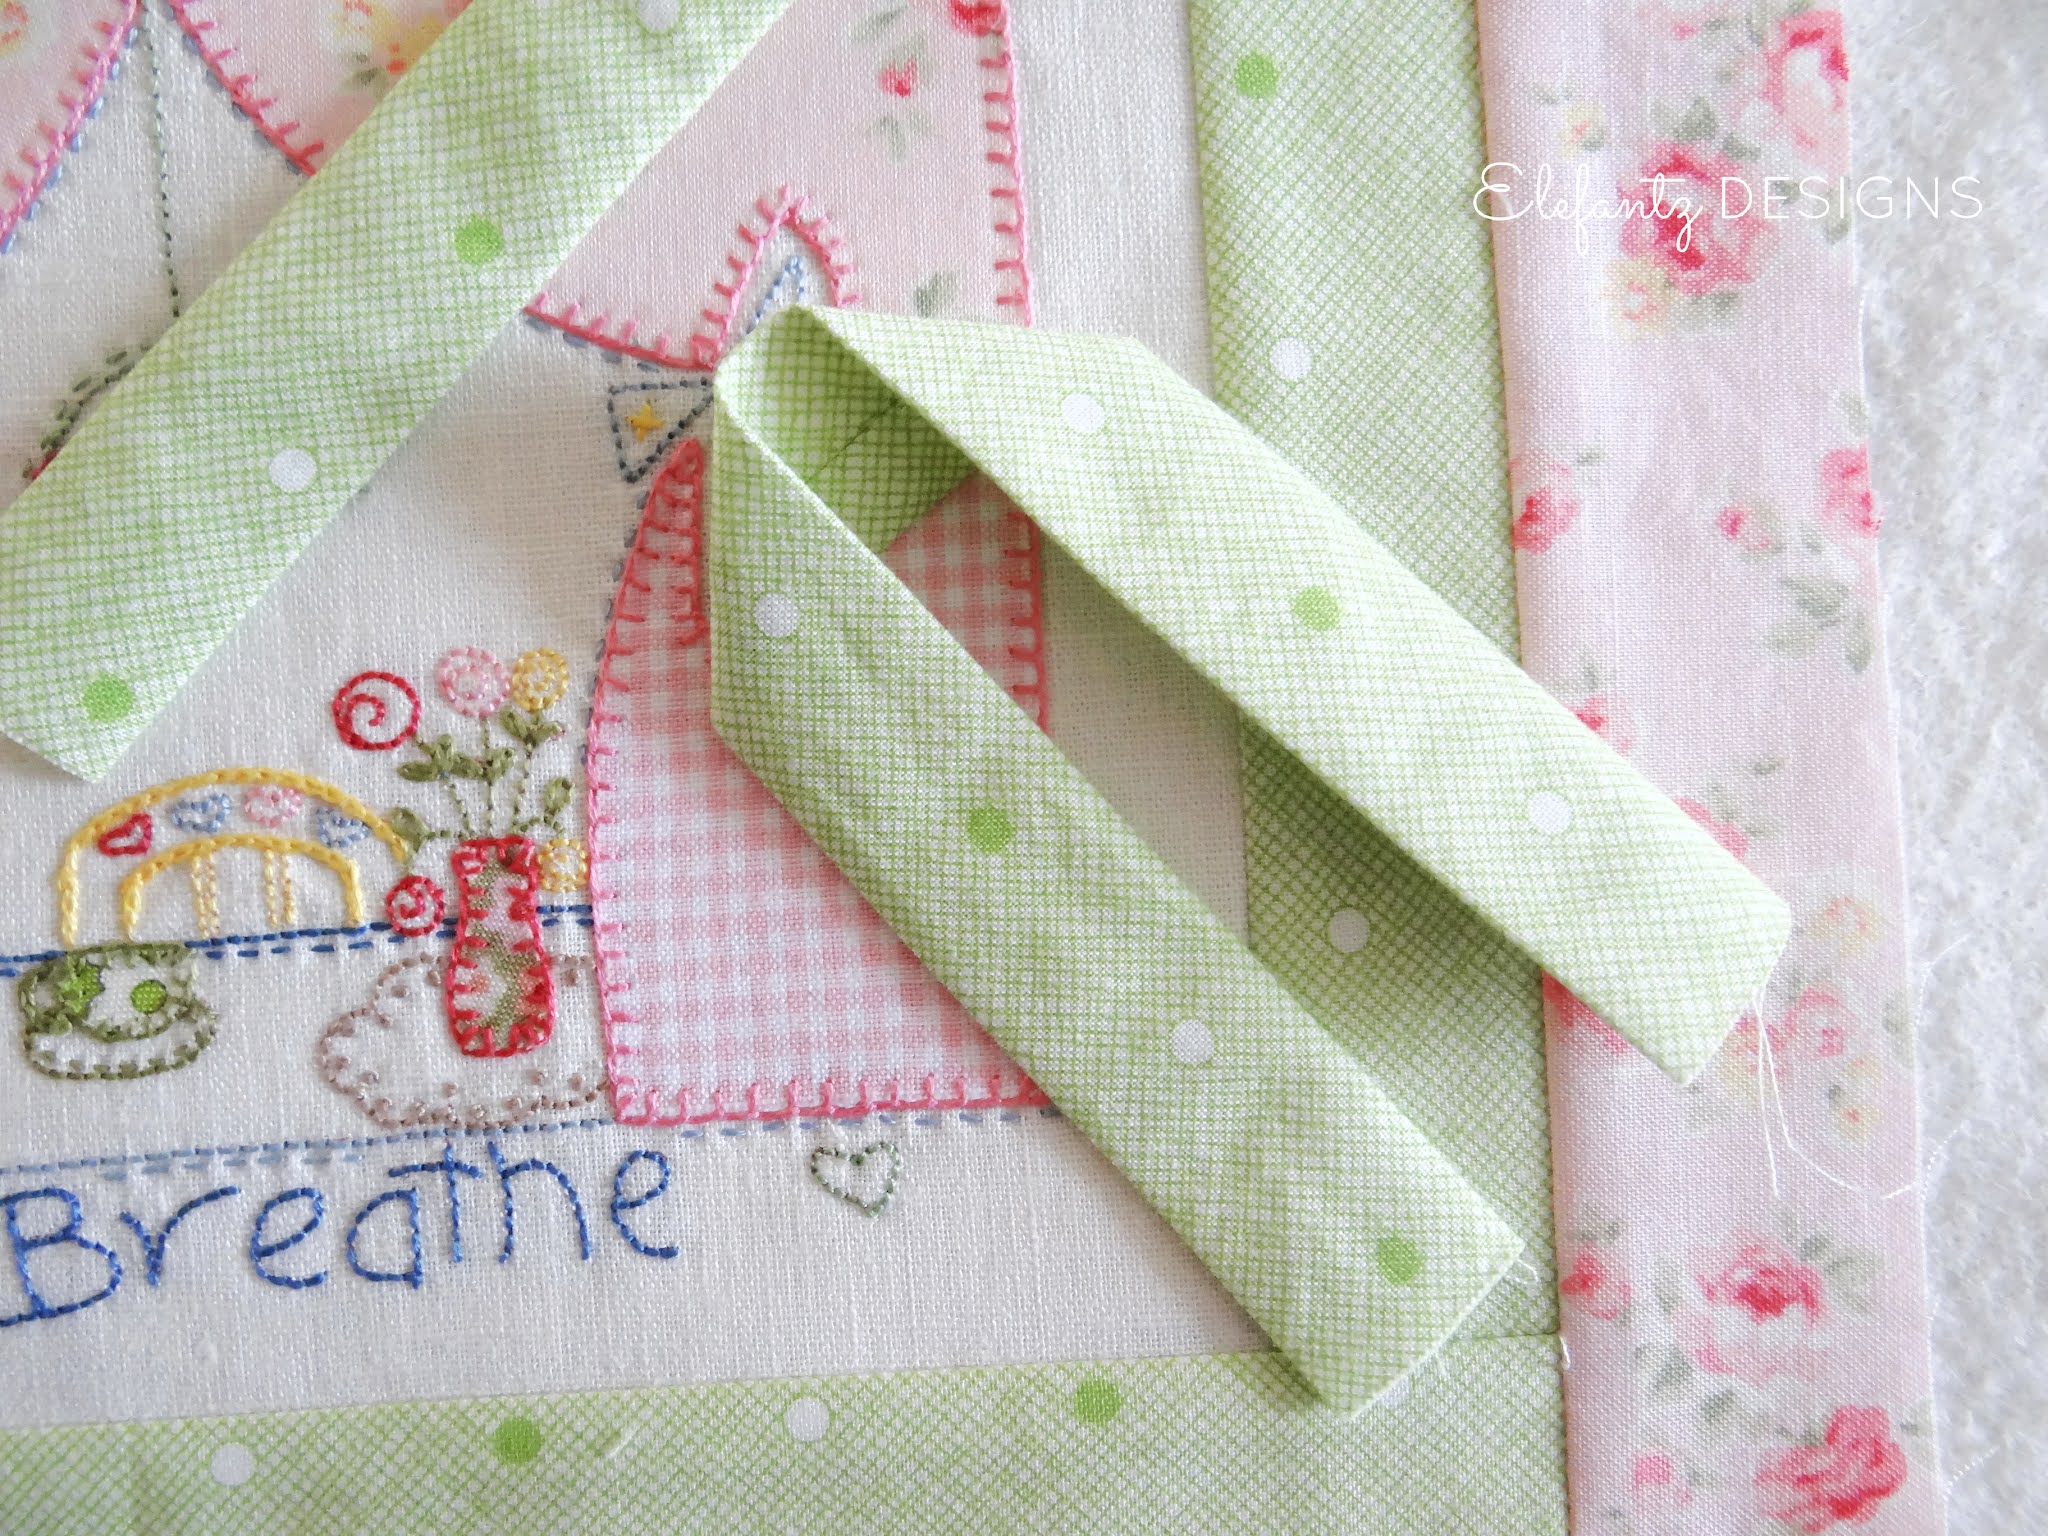

You need to secure the little point section with some hand stitching, or you can machine a line across the edge of the back fold instead.
I hand stitched mine, though looking at the photo now I think I'll unpick the front and do it again with ladder stitch instead. A girl can get sloppy when she's tired!


Bless you lovely friends, and I pray we shall all live by the good fruit of the Spirit day by day, giving others the opportunity to see how living for Jesus smooths our rough edges, tames our thoughtless tongues, and grows deep abiding kindness and grace in our hearts.
hugs