The products and services mentioned below were selected independent of sales and advertising. However, Simplemost may receive a small commission from the purchase of any products or services through an affiliate link to the retailer's website.
Cooking over an open flame is a method that’s been around since the days of cavemen. Still, that doesn’t mean you’re necessarily prewired to be an expert grill master. After all, fish falls apart on the grill, burgers burn and veggies slip through the grates — all pretty easily, too.
I myself am a backyard barbecue enthusiast, but a newbie to the grill. I recently purchased a gas grill, and, as I’ve been learning my way around the new appliance (and driving my dog crazy with the scent of meat swirling in the air of his backyard domain), I’ve investi-Googled many tips and tricks.
From the secret to keeping burgers juicy to hacks for getting your grill grates clean, here are some grill master-approved tips and tricks that I’ve tested myself.
1. Label Buns With Condiments
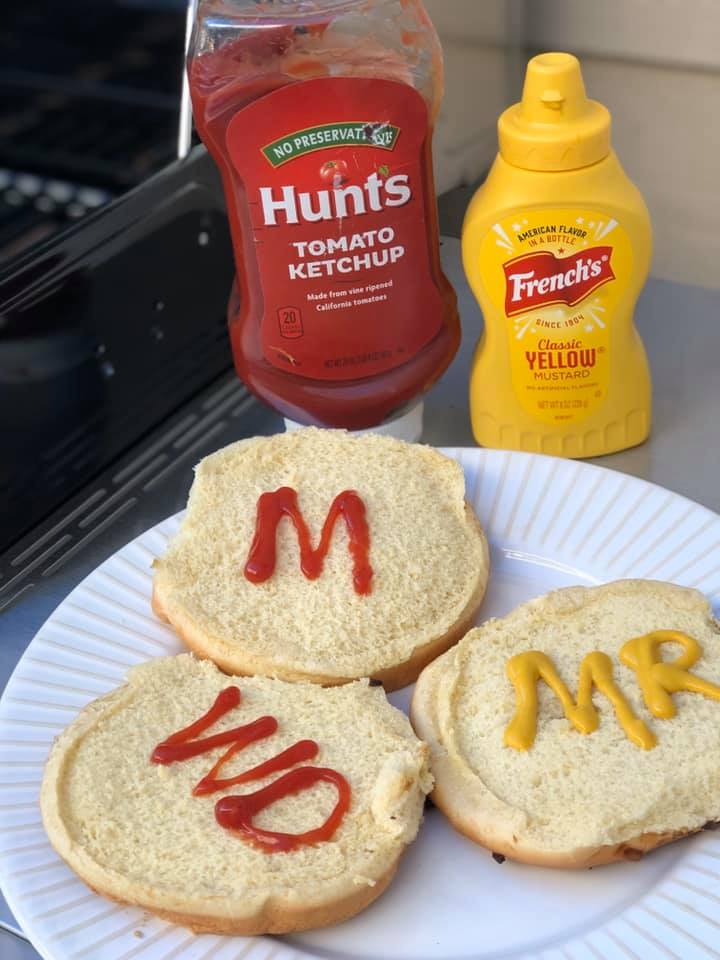
If you’re hosting a backyard barbecue and cooking for a crowd, it can be tough to remember everyone’s preference for how they like their burger cooked. To help, you can label your buns to match the orders: An “R” for rare, an “M” for medium, an “MW” for medium well, a “WD” for well done. Of course, make sure your guests will actually want ketchup or mustard on their burgers before you try this trick.
Bonus pro tip: Underline the “M” orders so they don’t get mixed up with a “W” if the bun gets rotated.
2. Make Steakhouse Toppings On The Grill
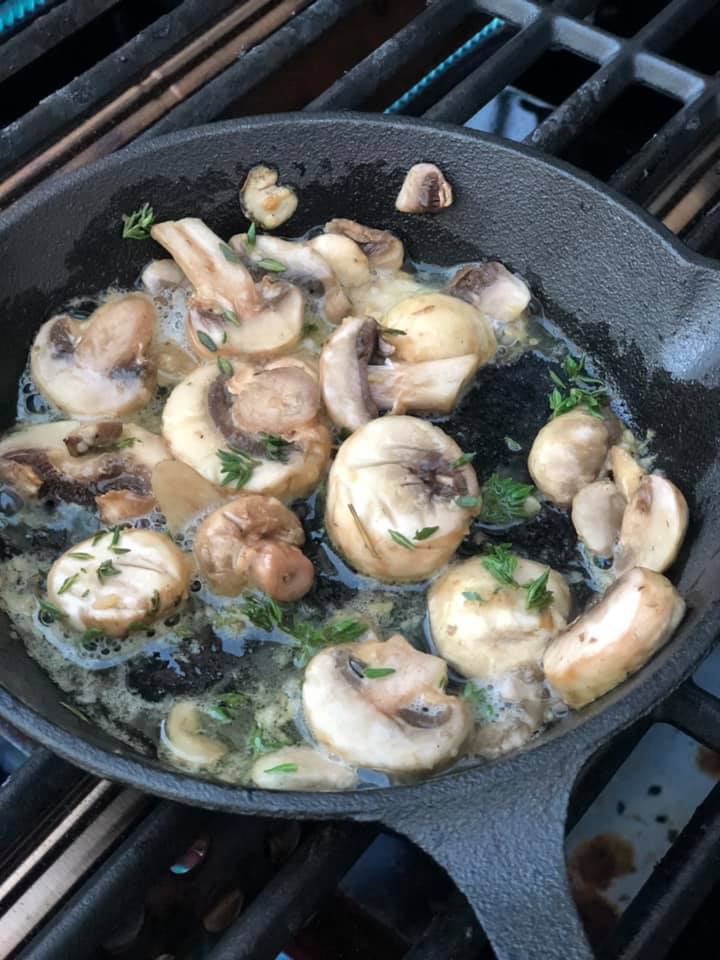
Take your steaks to the next level by sautéing mushrooms with butter, garlic and herbs. No need to run back and forth between the outdoor grill and the stovetop in your kitchen. You can use a cast-iron skillet to safely make the mushrooms right over the flames. Spoon them on top of a grilled filet mignon, and you’ve got a steakhouse-inspired dish.
3. Use Bread To Test For Hot Spots
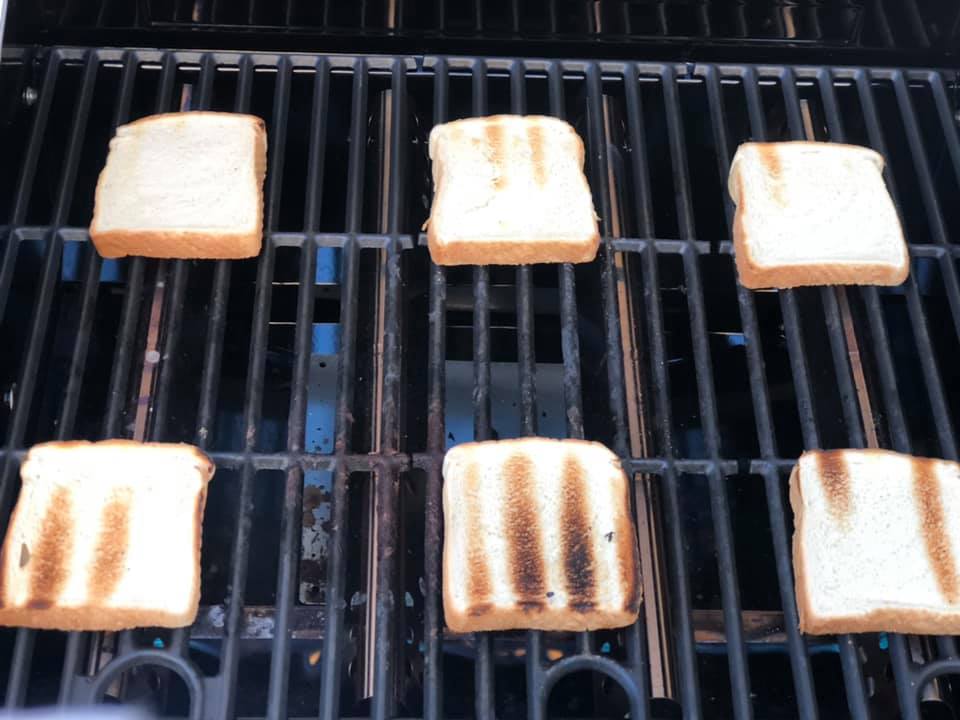
One of the first things I did when I got my grill was place six slices of Texas Toast on the grates to create a heat map and find out where the hot spots were located. After about a minute over an even amount of heat, I flipped all the slices over and examined which ones were most charred. I now know that if I want to grill a steak hot and fast, the bottom center of my grill is where it’s at.
Instead of tossing the bread after the test, I turned the test Texas toast into garlic-herb croutons with this recipe! You could also do this test with plain white bread.
4. Use A Potato To Prevent Sticking
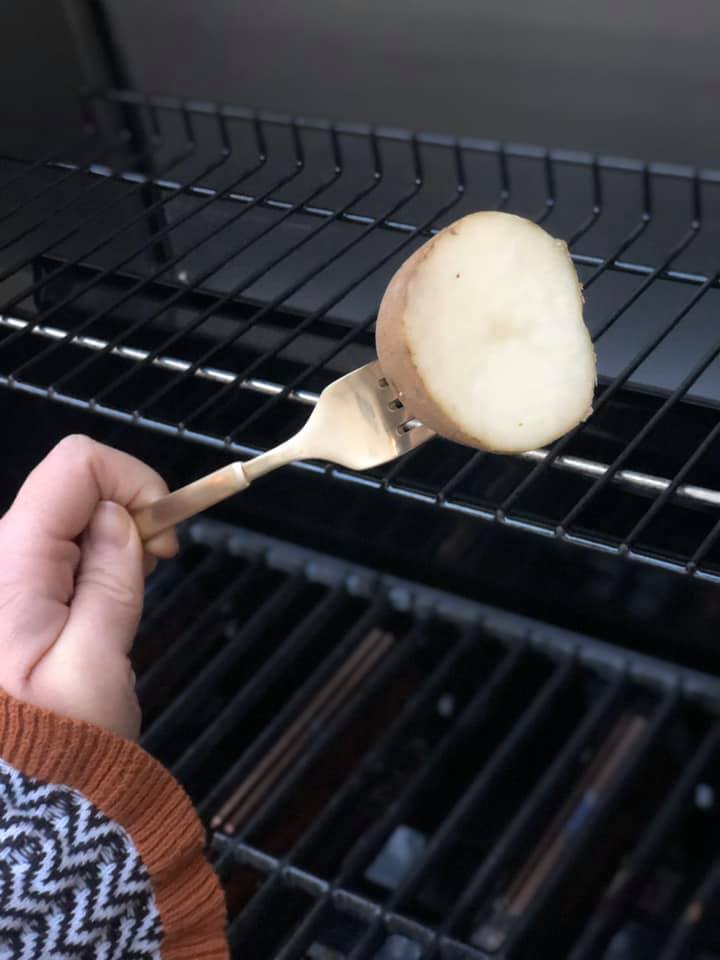
The starch in a potato can create a natural nonstick surface on your grill. I followed these instructions from CNET and heated up my grill, sliced a potato in half, stuck a fork in it (you could also use a two-prong meat fork) and then rubbed the grill grates with the flesh of the potato. I made barbecue chicken on the grill afterwards and had no problems with it sticking.
5. Put Your Toppings In A Muffin Tin
Practice a little mise en place at the grill with the help of a muffin tin. You can use it as a handy holder for burger and hot dog toppings. I also used the tin to hold the ingredients for scampi-inspired shrimp skewers.

6. Grill Fish Atop Lemon Slices
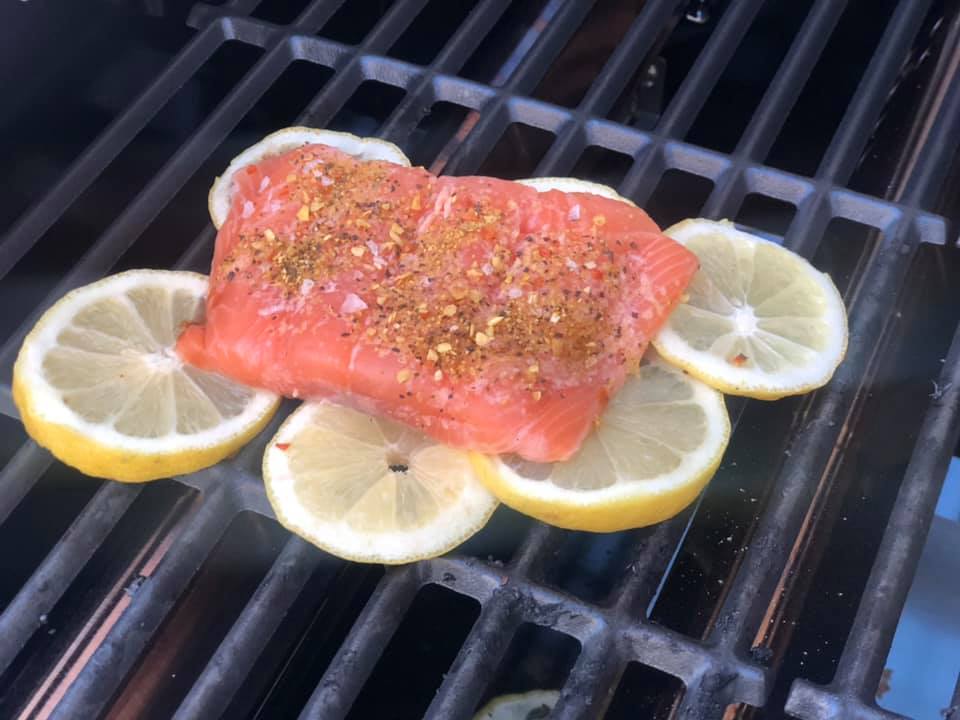
Compared to steaks and burgers, fish is much more delicate and can fall apart easily on the grill if it gets stuck to the grates. One way to prevent this from happening is to stick lemon slices underneath your fish so it’s not in direct contact with the grates. What I loved about this trick was not only did my salmon stay whole as I transferred it to my plate, but, as a bonus, each bite was infused with a zesty lemon flavor.
7. Grill Fish Diagonally
Another trick to keep your fish from falling apart on the grill is to place it diagonally on the grate slats, according to Cook’s Illustrated. Do this after you’ve greased your grates and brushed both sides of fish with oil to further prevent sticking. In the photo below, you’ll see how the two filets in the back are positioned diagonally to help prevent them from sticking to the grates.

8. Use Herbs As Skewers
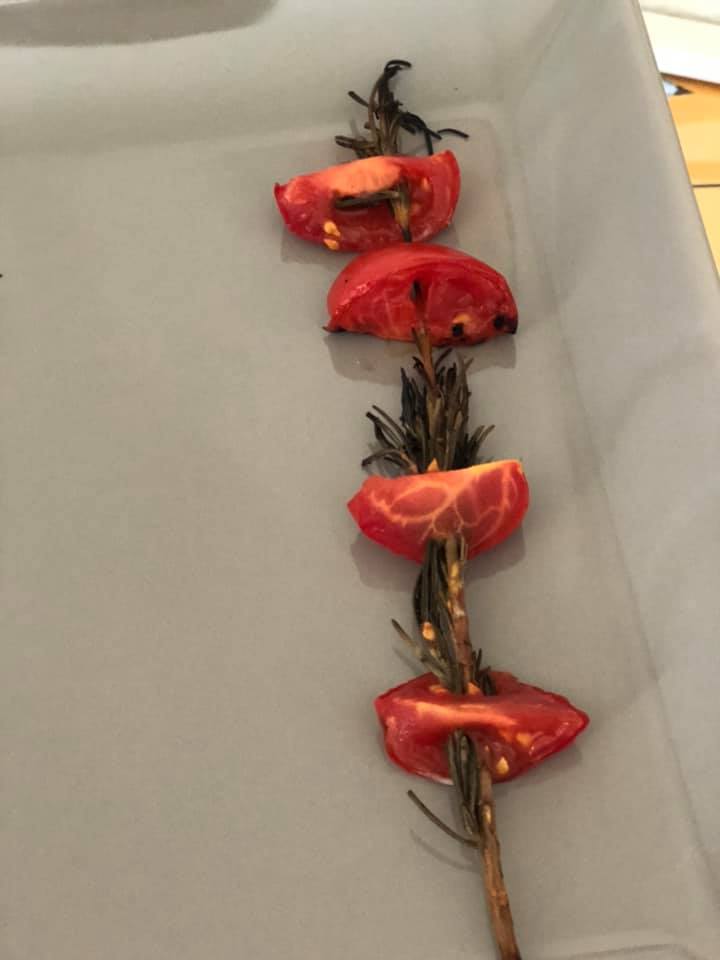
I like the idea of using herbs as organic skewers. But the sprigs of rosemary I used just weren’t thick or strong enough to hold chicken, beef or even hearty vegetables like bell peppers. So, I tried this trick with some tomatoes.
The tomatoes came off the grill with a nice woodsy flavor thanks to the rosemary, and it made for a tasty snack once I mixed them with mozzarella pearls, some oil and balsamic vinegar. However, it was tough to thread the tomatoes on the spring of rosemary and, once it hit the grill, the rosemary started to char pretty quickly. If you’ve got a lot of leftover herbs you’re trying to use up, I say go for it. But otherwise, you might be better off reserving your herbs for a bright chimichurri sauce for your steaks.
9. Know When To Grill With The Lid Open
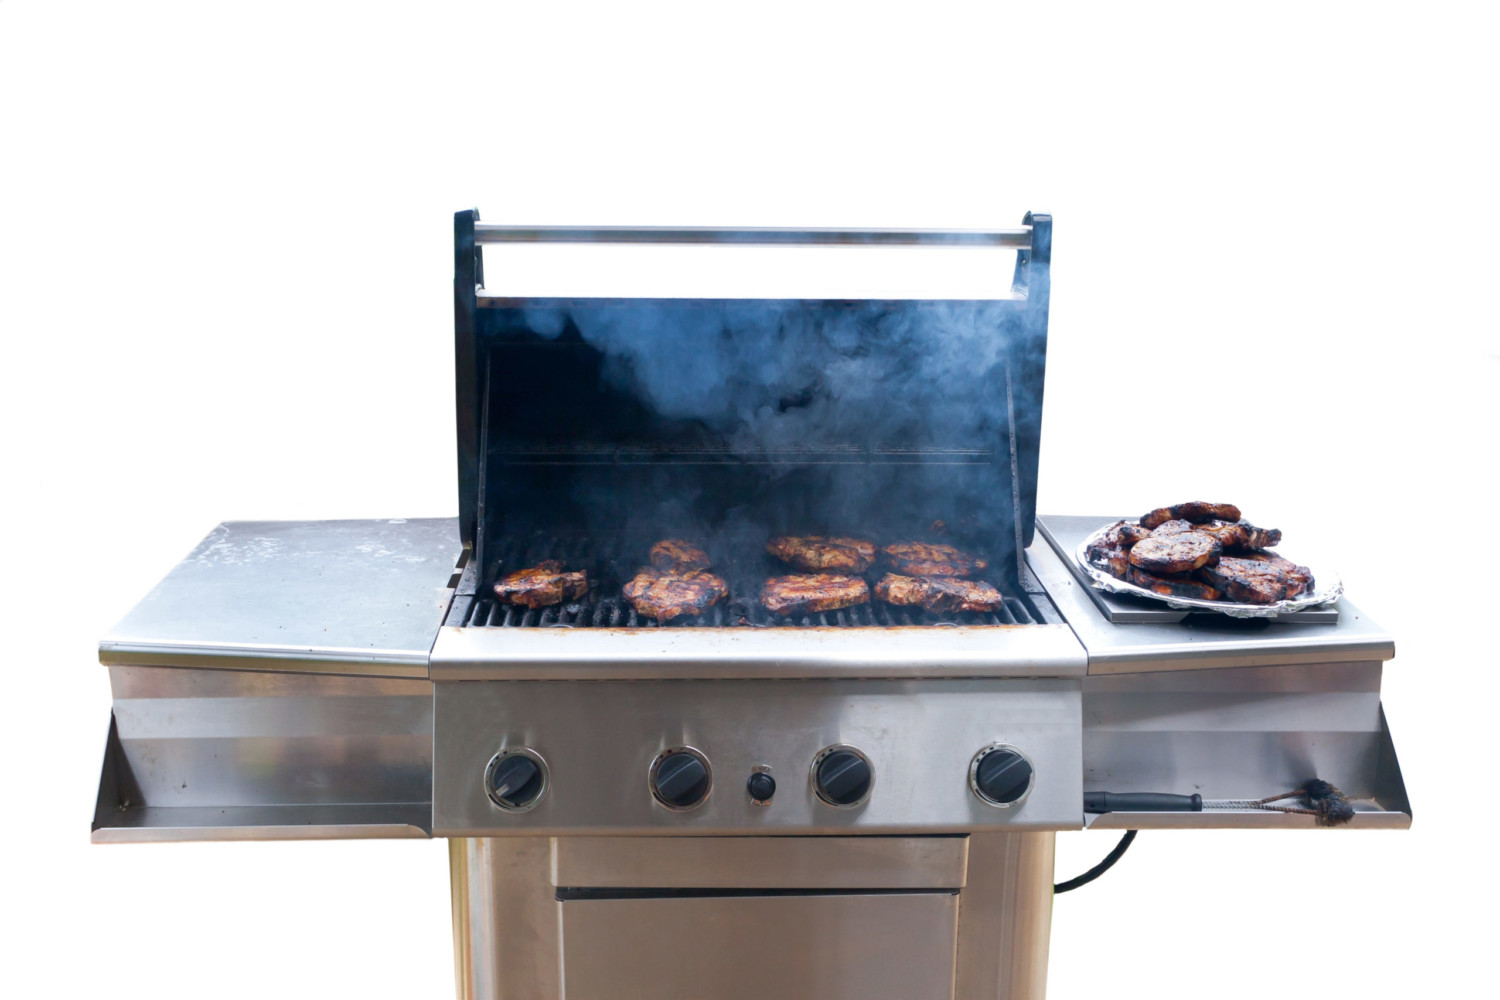
Curious if you should be grilling with the lid open or shut? There’s a simple rule that will help you decide, according to Epicurious: If the food you’re grilling is 3/4-inch thick or less, don’t put the lid down. On the other hand, if it’s thicker than 3/4 inch, cover it up and let the grill work its convection magic.
10. Use A Container Lid To Shape Your Burger
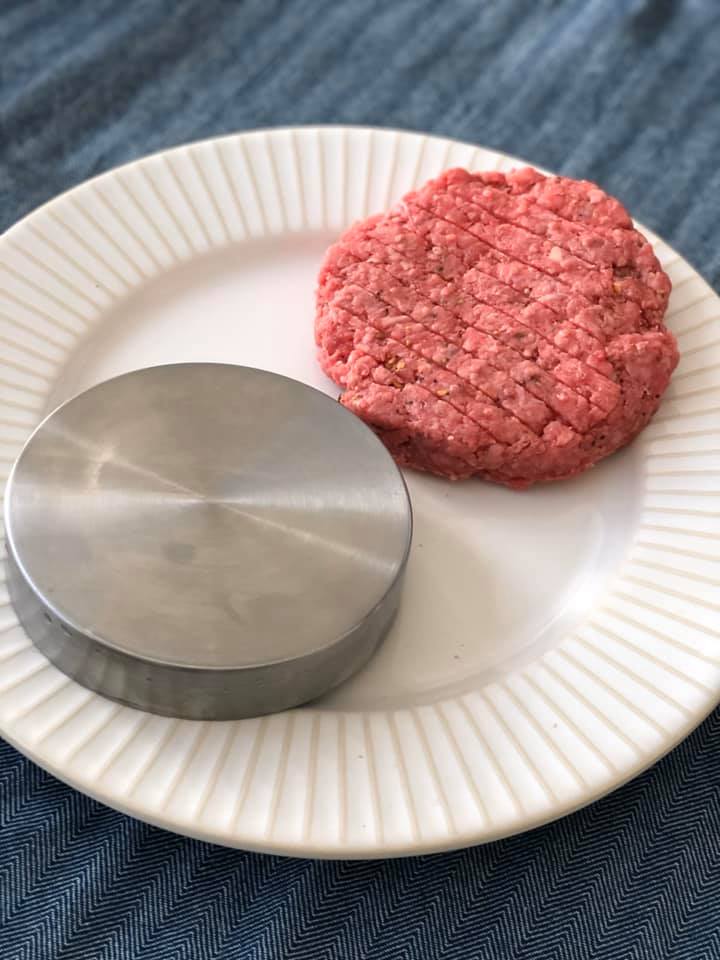
No need to spend money on a burger press. You can repurpose the lid of an old condiment jar or use a circle-shaped cookie cutter to shape your burger. Here, I used a lid to an old flour container to make my patty a perfect circle. Just be sure to wash it afterward or put some wax paper between the patty and lid since you’re dealing with raw meat.
11. Pour Hot Water Over A Propane Tank To See How Full It Is
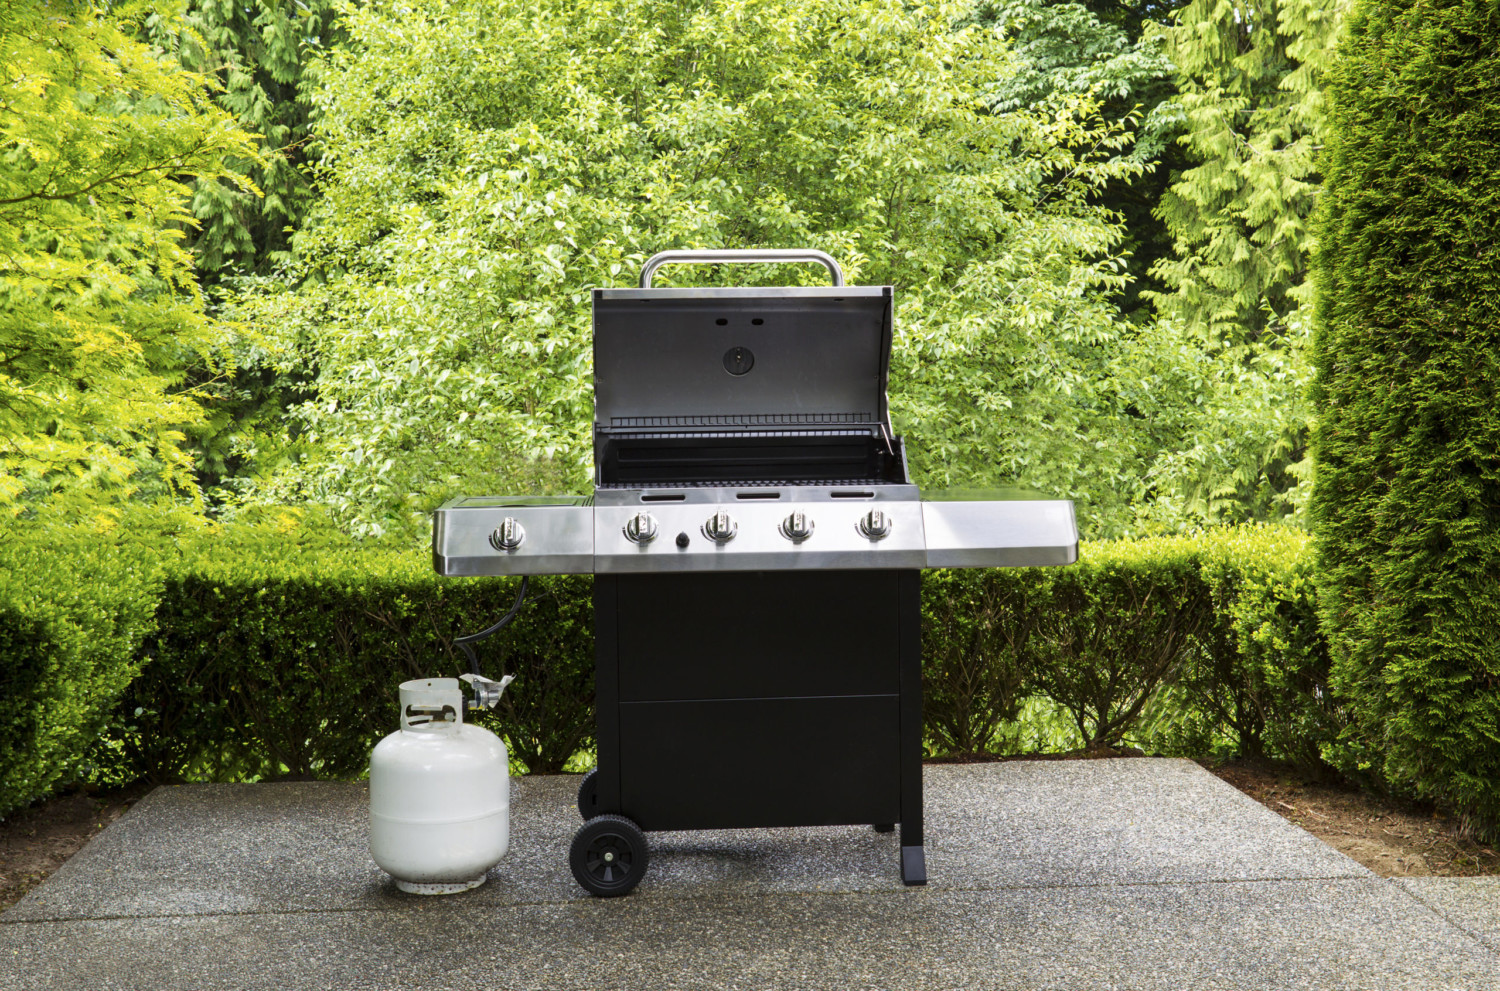
Not sure how much propane you have left in your tank? There’s a safe and easy way to check before you fire up the grill, courtesy of the Kitchn. Boil a cup of water then pour it over the side of the tank. Then, feel the tank. The point where it goes from hot (empty) to cool (filled with propane) is your propane level. I tried this trick on a propane tank that I had only been using for a week, and, as expected, the tank was cool to a touch near the top, indicating I still had a nearly full propane tank.
12. Season Burgers All The Way Through
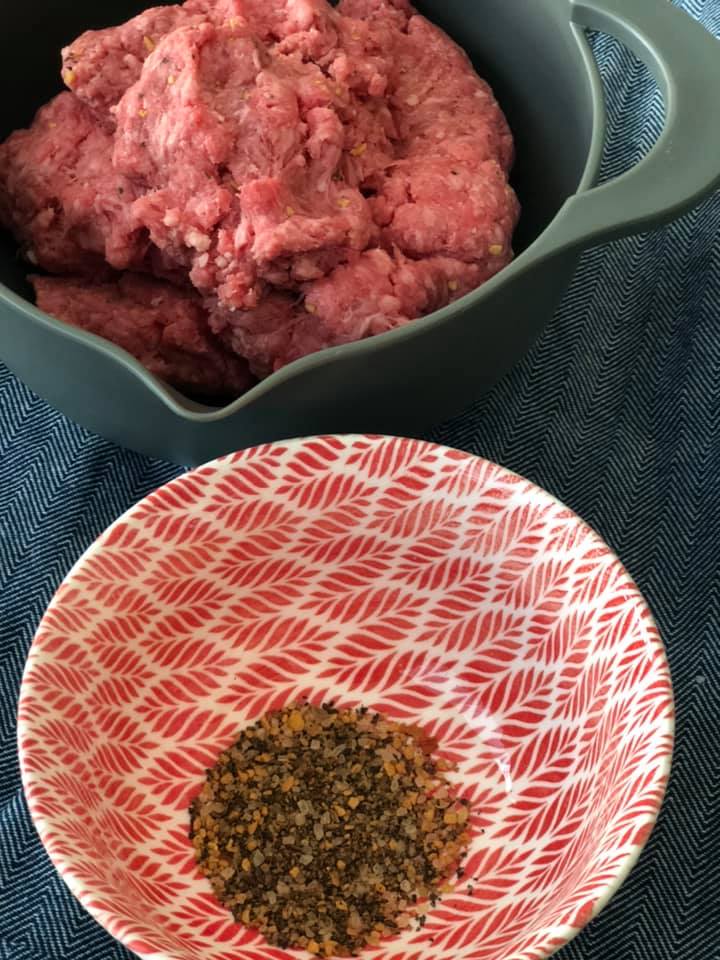
Instead of sprinkling your seasoning on the top of a burger before you toss it on the grill, work the seasoning into your meat mix before you form the patties. That way, you’ll have a more flavorful burger. Also, a little brown sugar just may be the secret ingredient your burger seasoning is missing.
13. Let Your Steak Warm Up
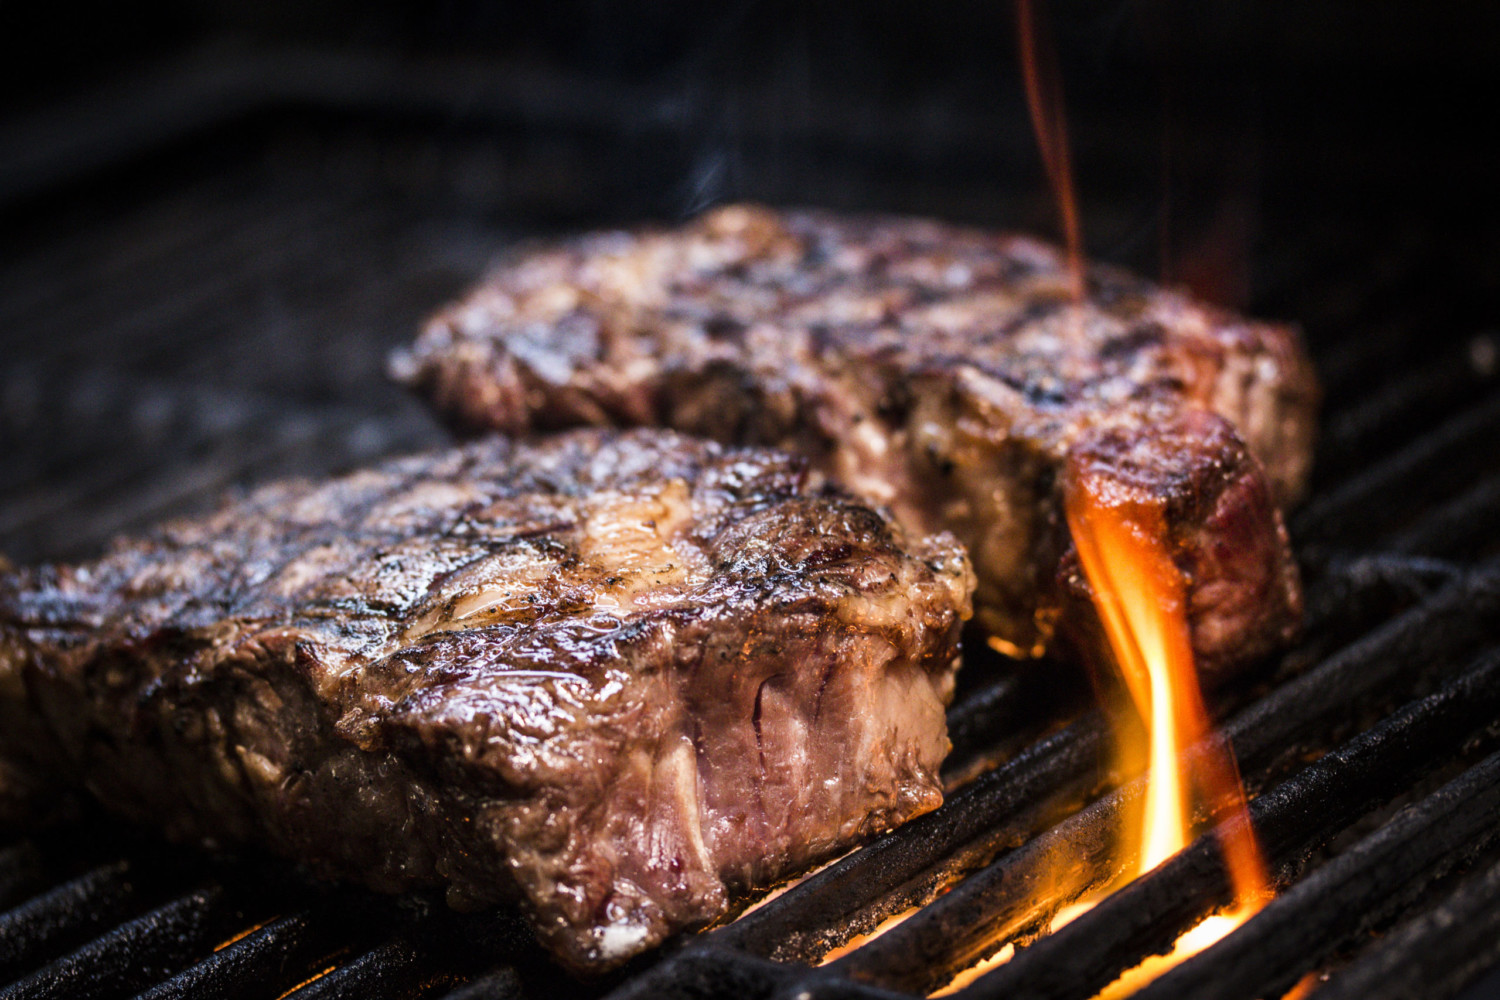
You know you can’t cook a steak direct from the freezer. But even if you move your steak straight from the fridge to the grill, it won’t cook evenly. A better bet is to take it out of the fridge 20 minutes before you put it on the grill so it can reach room temperature, according to Food Network. Celebrity chef Bobby Flay lists this as one of his most essential tips for grilling a good steak.
14. Toss Fruit On The Grill
I recently brought home some pears from the grocery store that were lacking in the flavor department. So, I decided to toss them on the grill to see if it could bring out their sweet side. The high heat of the grill caramelizes the natural sugar in fruit, making it sweeter, while also softening the fruit. You can put all types of fruits on the grill, from pineapple to peaches.
For my experiment, I put a pat of butter and some brown sugar in a cast-iron skillet with my pear and within a couple of minutes had a decadent pear sundae drizzled with the caramel that was left over in the skillet.

15. You Can Also Grill A Pie
Further proving its versatility, your grill can handle pies, too. I made this sweet potato pie on the grill, more for the novelty factor than anything else. I grilled it at just under 300 degrees for 30 minutes, checking on it frequently. I also crisped up the crust a little while I was waiting for the center to set.
So, why grill your pies when the oven does the job just fine? You can put a smoker box on the grill and use wood chips (pecan! apple! cherry! peach!) to give your pie extra complexity. Plus, if you run out of oven space at the holidays or don’t want to be in a hot kitchen in the summer, let your grill handle the pie baking.

16. Soak Your Skewers
If you’re using wood skewers for kebabs, you’ll want to give them a bath before you throw them on the grill. The moisture will keep them from burning over high heat.
The Los Angeles Times recommends soaking wood skewers for about 10 to 30 minutes before threading them with your meat or veggies. While this trick should be easy, I had a few failed attempts. I first tried soaking them in Ziploc bags but they were too pokey, puncturing the plastic. Then, I tried to find bowls long enough to fit the skewers, but with no luck. I finally resorted to using a pitcher and flipping the skewers over halfway through to make sure both ends got soaked. You could also soak them in a clean kitchen sink.

17. Use Double Skewers
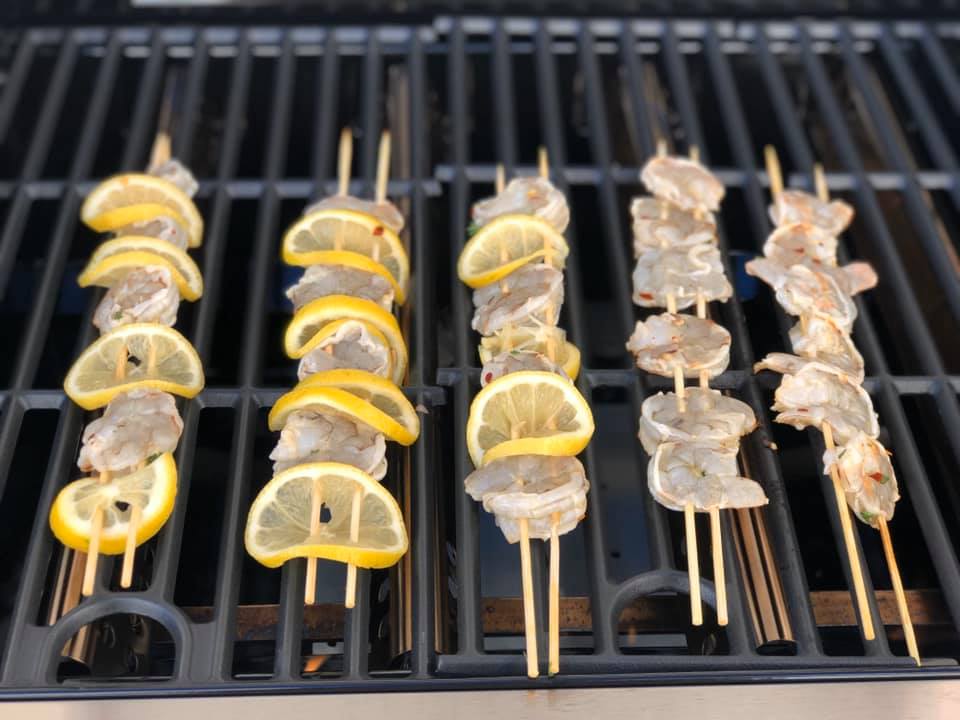
Double skewers will give your food more stability and prevent it from slipping off your kebabs, while also making it easier to move your meal from the grill to the plate. This trick works especially great for shrimp and chicken, which tend to shrink and curl when they’re cooked.
18. Make A Spiral Cut In Your Hot Dogs
Want a gourmet dog? There’s a trick that says giving your hot dog a spiral cut will not only make it look fancy, but that the cut will give it a caramelized taste. I tried the trick by putting a skewer through my hot dog and then using a knife to cut it as I rotated the frank.
The results didn’t blow me away. But I think it’s because I only had a few cuts in my hot dog whereas this video I found after the fact from Chowhound makes a case for closer together cuts that essentially turn your hot dog into an accordion so that it cooks more evenly. I’ll definitely try it again!

19. Keep Your Veggies In Place With A Grill Mat
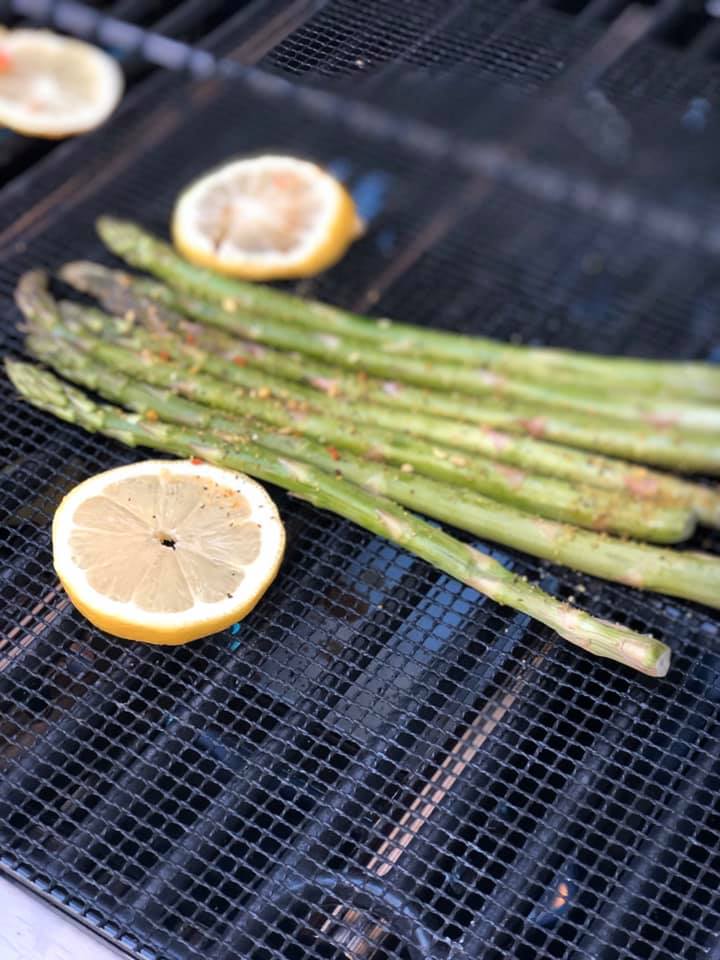
I’ve purchased lots of accessories for my grill, including a grill cover, a rack for ribs, a meat thermometer and even a headlamp so I can grill at night. But my favorite purchases to date are the nonstick barbecue mats that I used to grill veggies and keep small pieces of food from slipping through the grates. I like mesh grates better than foil because they’re reusable.
20. Use A Ceramic Stone To Grill Pizza With Thick Crust
There are a lot of tips and tutorials online for how to make the best grilled pizza. But if you’re worried about your dough sticking to the grates or are simply looking for an easy way to grill up a pizza quicker than it would take to have one delivered, I recommend using a ceramic pizza stone.
The stone will help give your pizza a nice, thick, bubbly crust that’s hard to achieve in your oven with a baking pan. The Spruce Eats explains that this is because a pizza stone’s crevices allow evaporating steam to escape better than a metal pan, which tends to trap moisture and result in a soggy crust.

21. Undercook Your Meat Slightly
When your meat comes off the grill and is hot, it’ll actually keep cooking. To account for “carryover cooking,” you’ll want to take your meat off the grill when it’s about 5 degrees Fahrenheit under the desired temperature, according to Food Network. Tent it under some foil and let it rest (this will keep your meat nice and juicy) while it reaches that desired temp.
22. Aluminum Foil Could Clean Your Grill In A Pinch
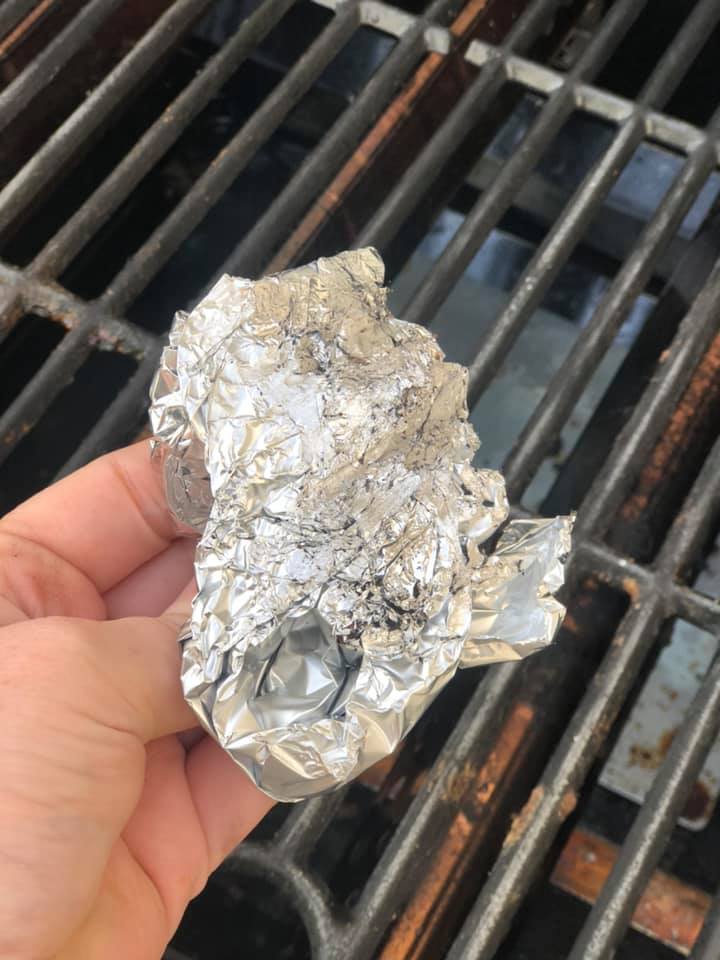
A dirty grill can be a fire hazard. Plus, who wants charred bits of an old burger tagging along on their salmon? Aside from using grill brushes to clean your grates, there are a few other cleaning methods circulating online. Among the ideas is one that calls for aluminum foil, and, to make this extra convenient, you may very well have a roll of foil next to you as you grill, using it to tent your steaks as they rest.
But how effective is foil as a grill cleaner? I tried it on my grates and gave up pretty quickly. In a pinch it does an OK job, but it is by no means an equal substitute for an actual grill brush, but the next hack I tested was…
23. Or Use A Lemon To Clean Your Grill
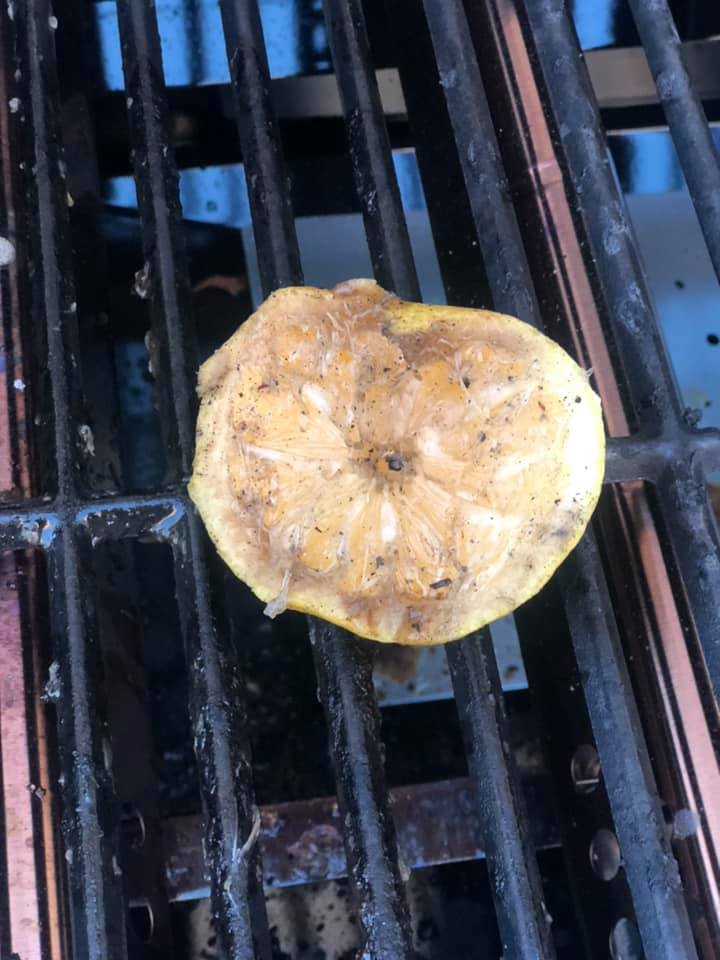
The next trick for cleaning a grill involves using half of a lemon. While this method worked a bit better than the aluminum foil trick, the citrus squirting on the grates (and my hands) was sticky and the lemon didn’t have enough of a bristle to break apart char. The upside: The lemon provided a nice aroma!
24. An Onion Is A Perfect Grill-Brush Substitute
Ding, ding, ding! Using an onion as an alternative to a grill brush is a winning hack. I stuck a fork in half of an onion and glided it up and down the grill grates. It had just enough texture to break up grill gunk. If you find yourself without a grill brush, this is the way to go.

25. Grill Burgers With An Ice Cube
If you like your burgers grilled medium or beyond, grill masters say putting an ice cube in the center of the patty can help prevent the meat from drying out while it cooks. Slightly skeptical that an ice cube might water down my burger, washing away its flavor, I tested this trick with a traditional ice cube made with good, old-fashioned water and another made with a vanilla porter beer.
My ice cubes were a bit bigger than average, and, as a novice, I wasn’t confident I could keep the ice and beer cubes intact while I attempted to gingerly flip the burgers. So, I grilled the burgers for a few minutes with the ice cubes nestled in their centers before discarding the cubes and flipping the patties. This hack worked wonderfully, keeping my medium-well burgers juicy. But, when it comes to ice cube vs. beer cube, the vanilla porter-style burger gets my vote because not only was the burger juicy, but it had a complex, malty flavor, too.
You could also try using an ice cube made with low-sodium beef broth, but I’d recommend cutting back on the seasoning that you mix into your meat so you don’t end up with a patty that’s too salty.


